5 top tips for a water-saving garden

Although we’re still in the depths of winter and the gardening season is yet to get underway, there’s still plenty you can do to be more water-conscious before your garden wakes up in the coming weeks. Mulching beds and borders is a great way to lock moisture in the soil, and of course installing a water butt (or two!) will make the most of any rainy weather and help to save water for when we really need it in spring and summer. And if you’re planning any major landscaping, consider the benefits of better drainage.

Read on for five top tips to help you save water in winter.

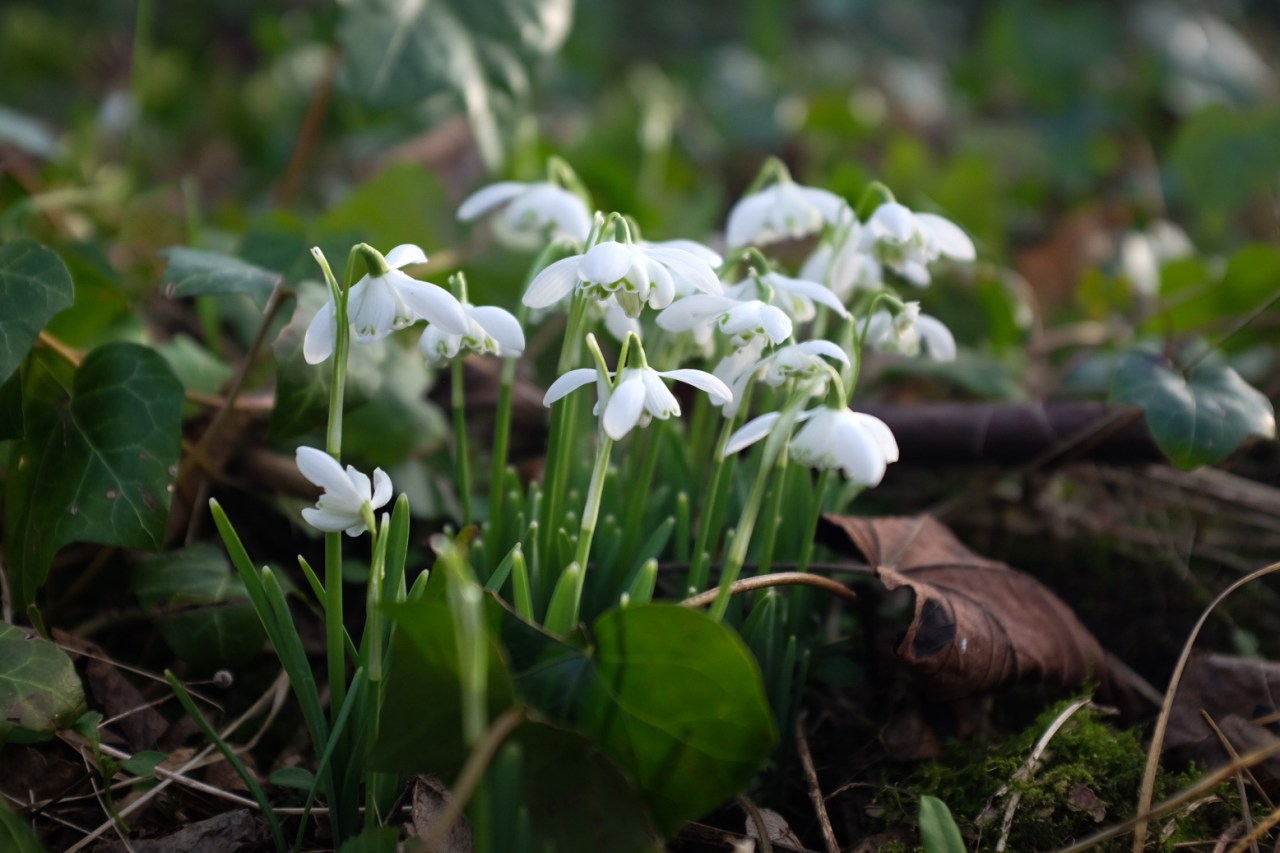
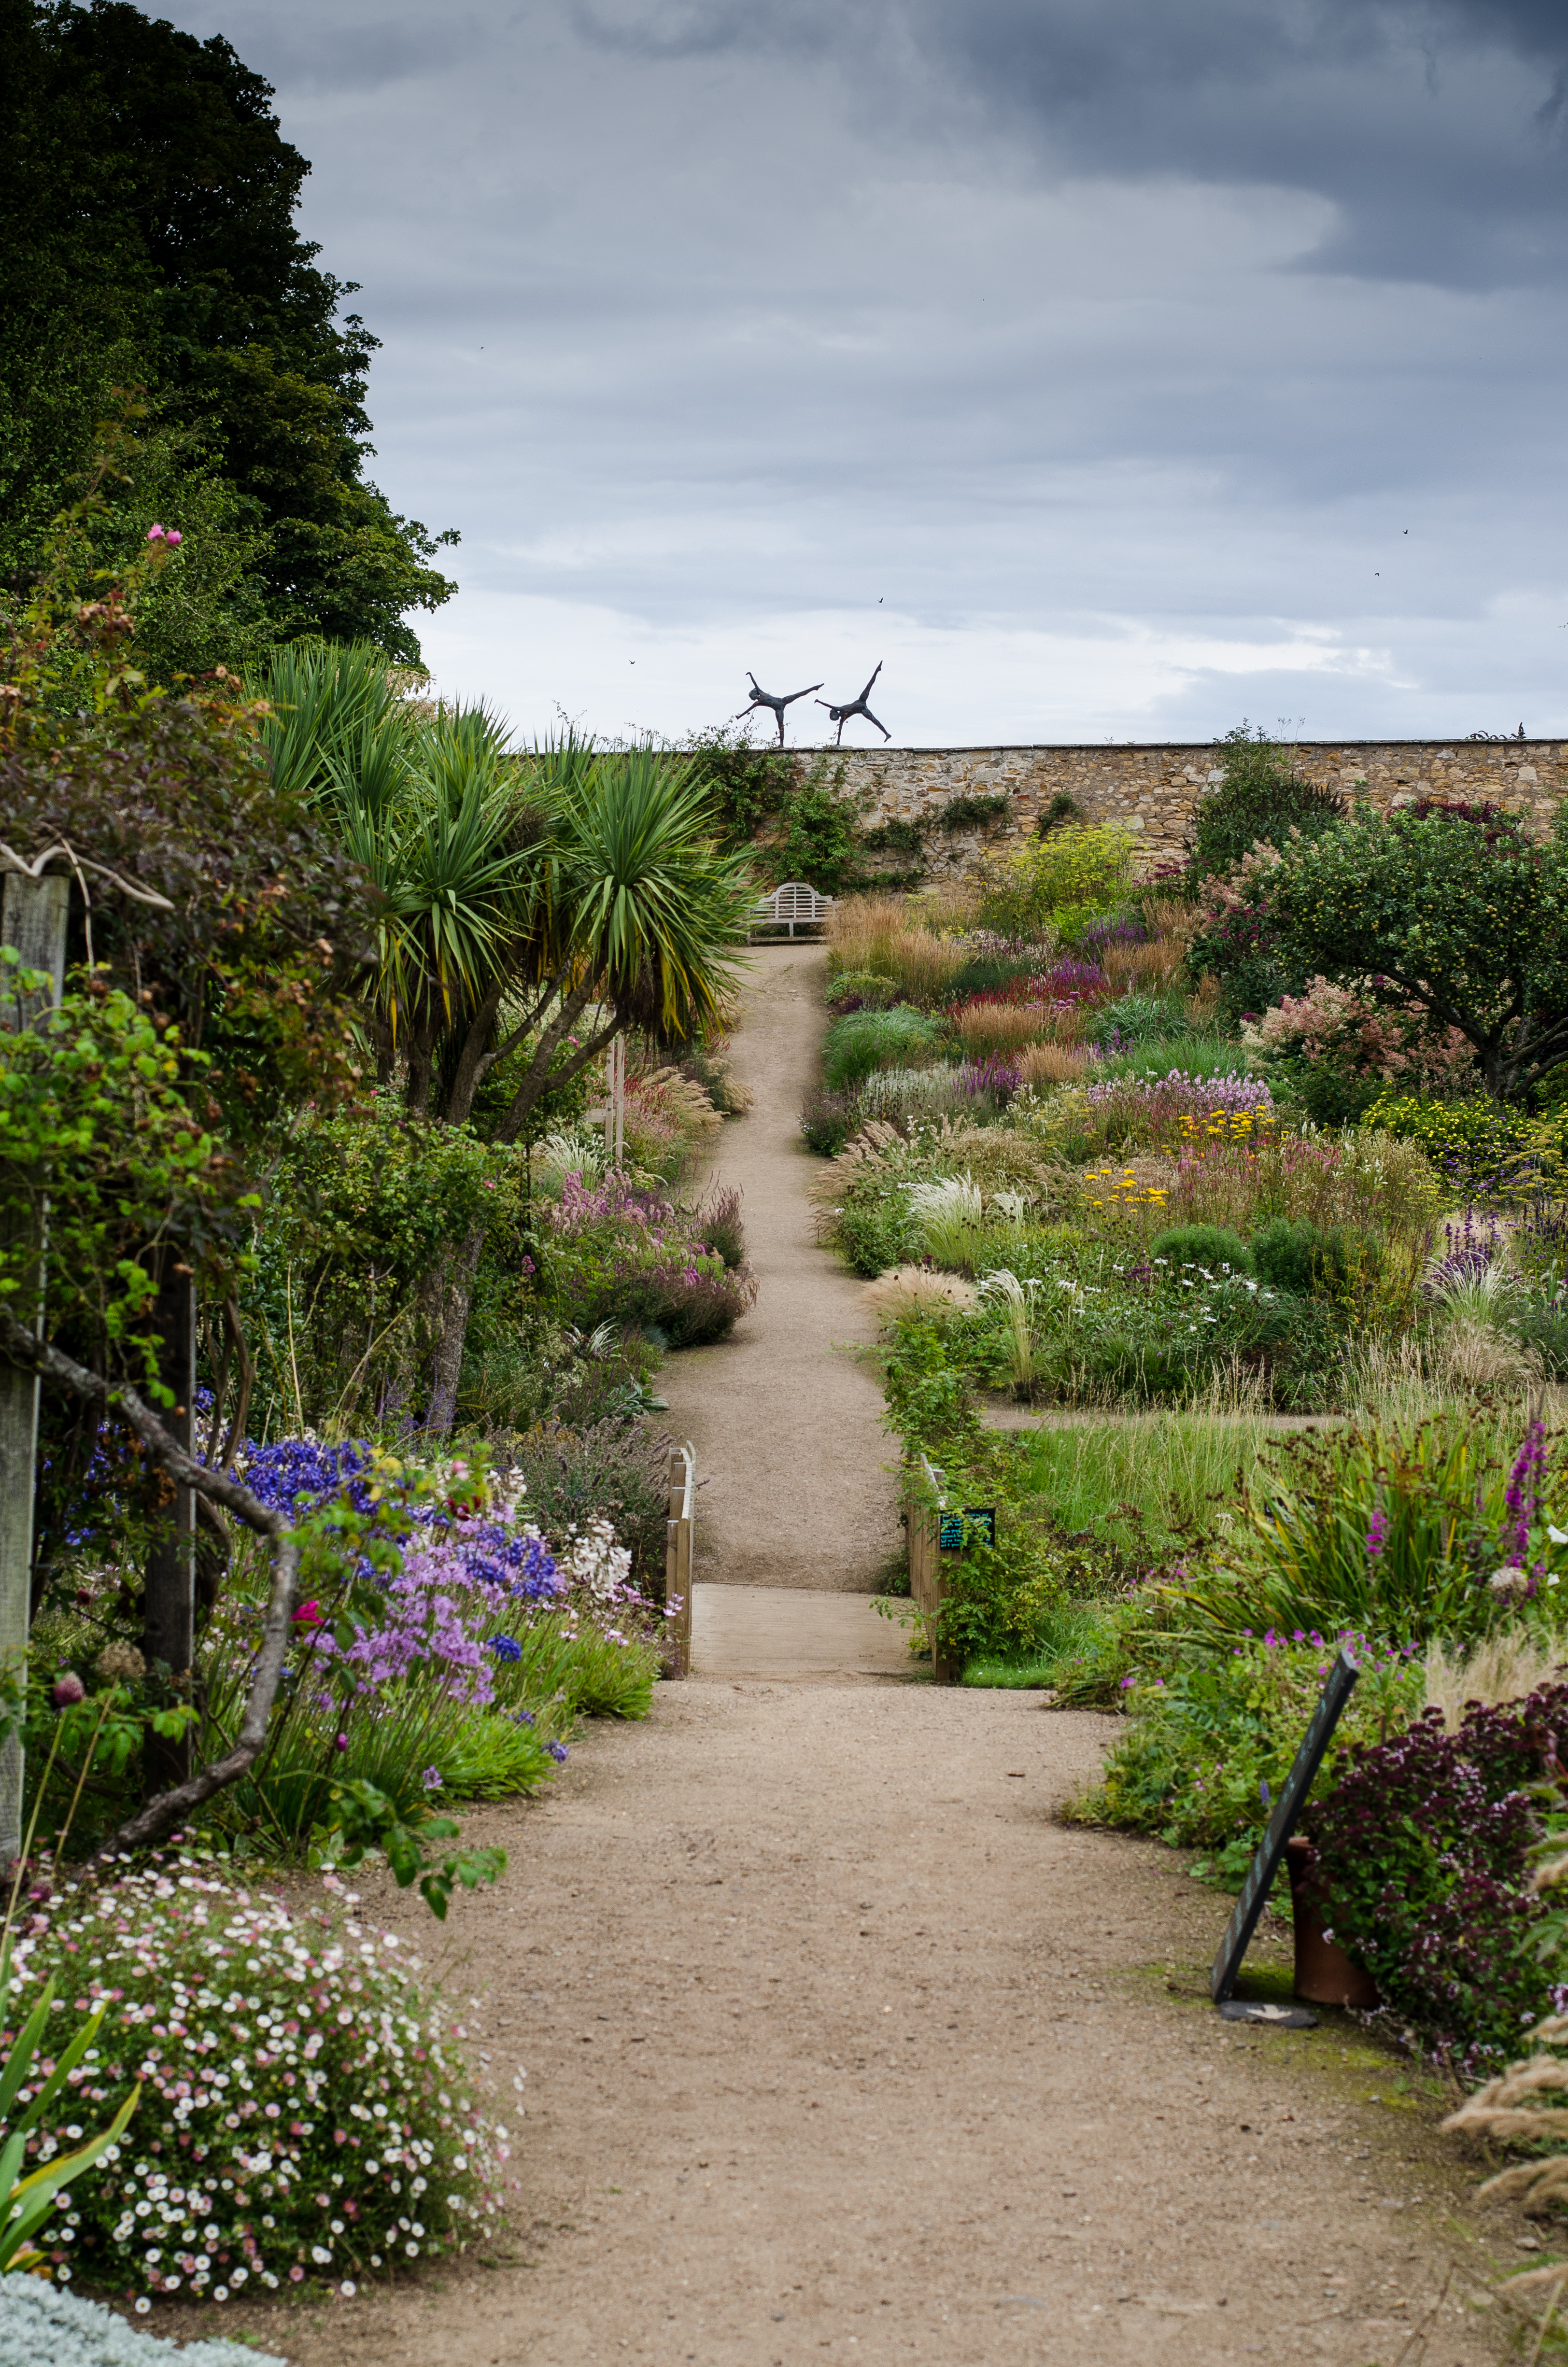
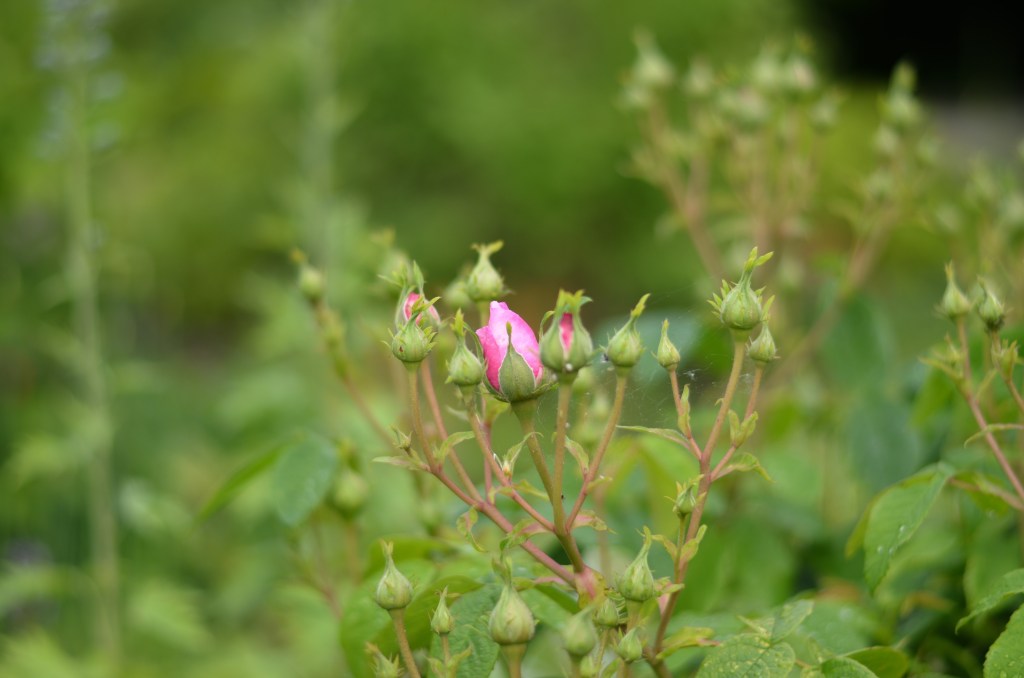
Snowdrops are nodding in the borders, the first tips of daffodils and crocus are showing through the soil, and the garden is still half-asleep. It’s a good point in the year to have a think about the structure and landscaping of your garden, and make some preparations which will improve water conservation, ready for the coming growing season. 

Here are 5 things to consider when you’re planning your 2024 garden: 
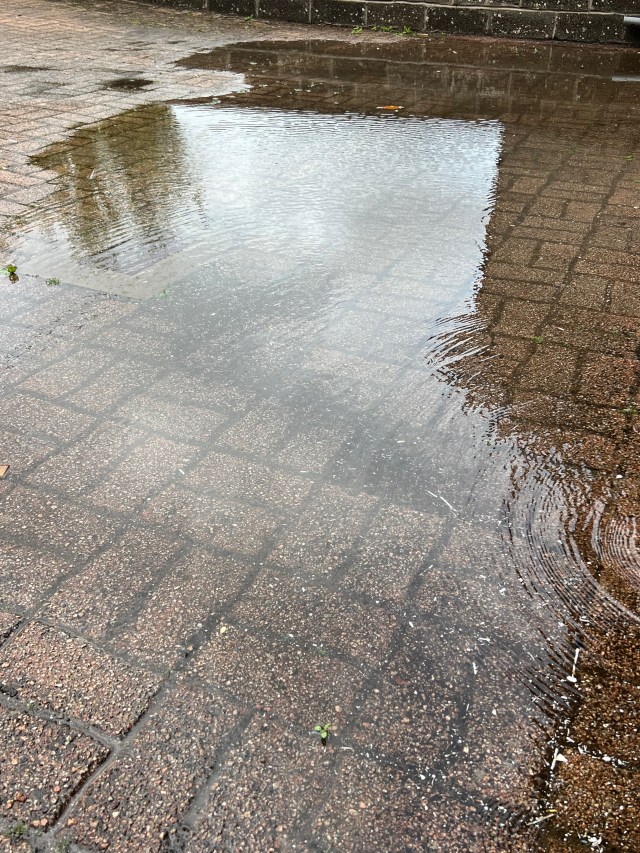
1. Hard surfaces

Does your garden drain the rain? And do you wonder why your street or driveway keeps flooding?  It’s because too many hard surfaces, driveways and paved over gardens aren’t allowing rainwater to drain away properly.

  • monoblock paths and drive ways drain poorly and pool water
  • paving, tarmac and concrete are also less porous
  • additional water flows into street drains, putting pressure on the sewer network – that’s why localised flooding can occur, affecting people’s homes and gardens

So what can you do instead? Keep hard surfaces in your outdoor space to a minimum – and go for grass or gravel when you’re landscaping. If you’re building a new driveway, patio or path – or planning an upgrade – then choose permeable paving. Gravel is especially cheap and you can plant into it easily. Consider also retaining as much grass in your front garden as possible – it’s better for biodiversity and it holds rainwater, preventing runoff.

2. Avoid artificial grass 

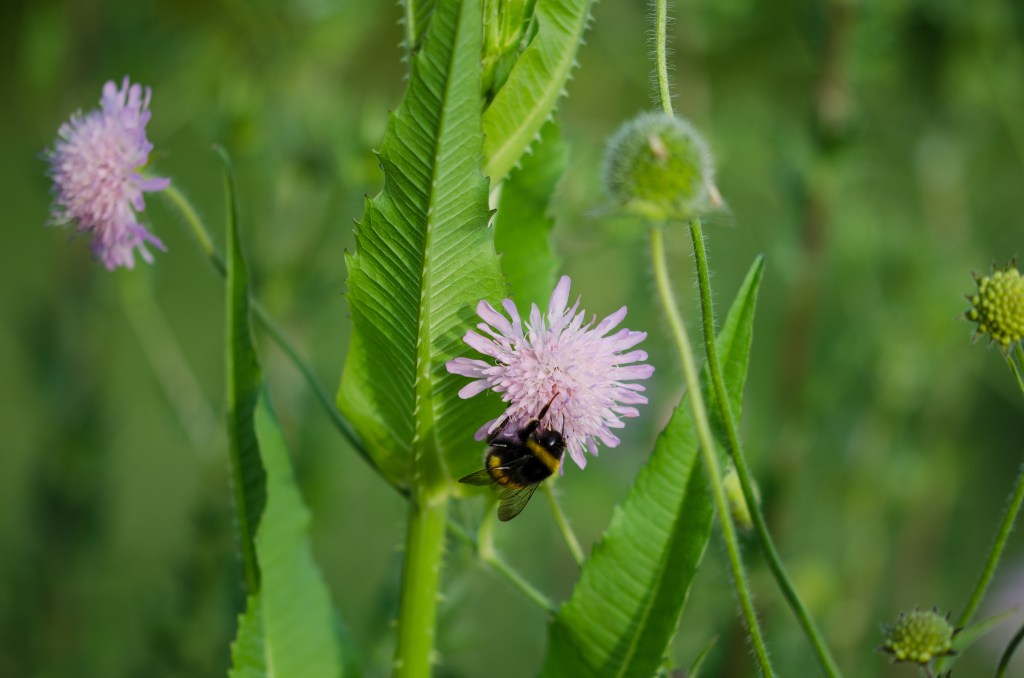
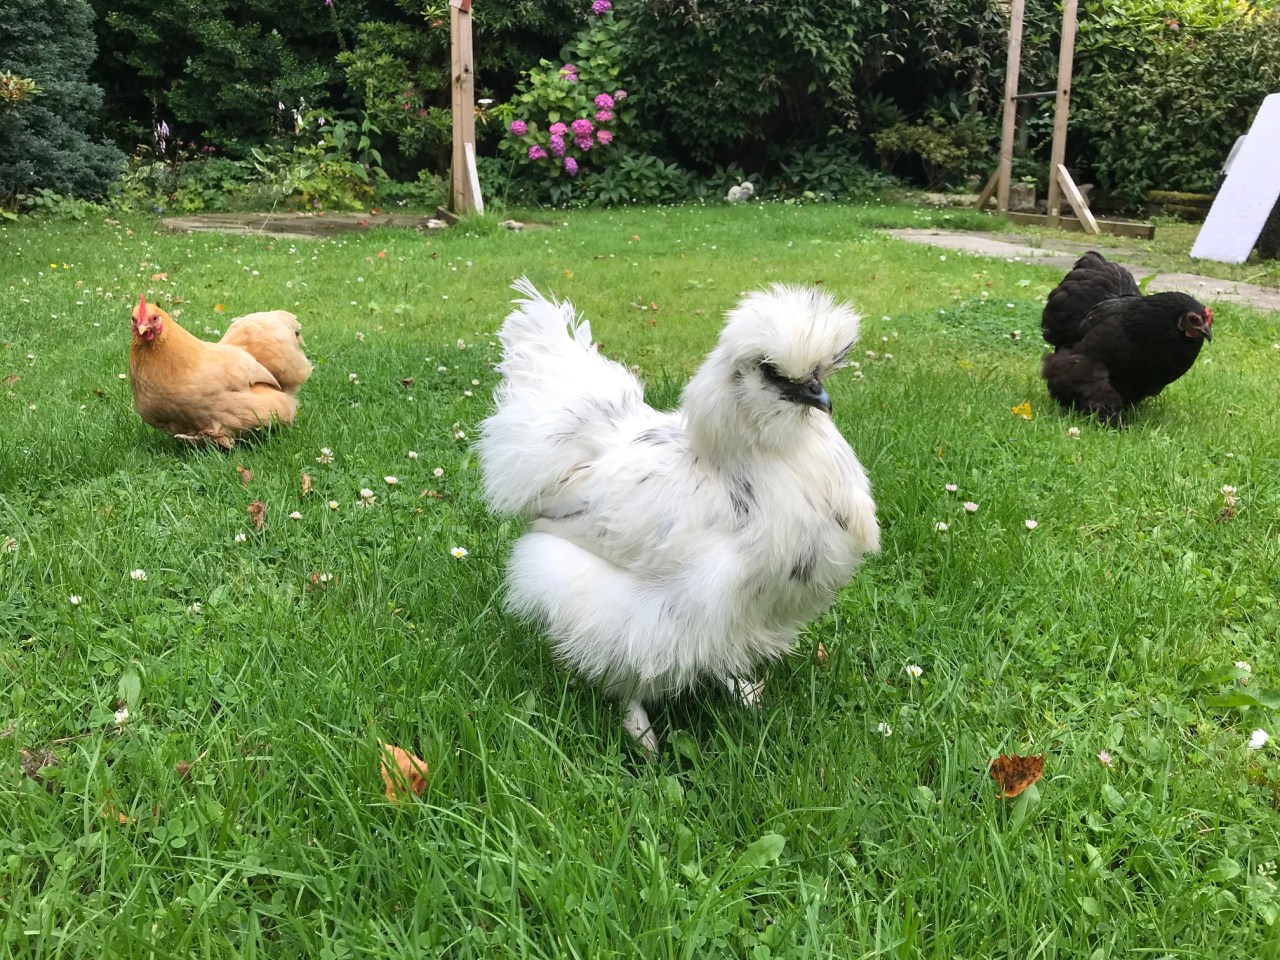
When your grass is living, there’s life in your grass – and the rest of your garden benefits too. 

  • grass and the soil below it supports a huge ecosystem of insects, worms, nutrients and micro-organisms  
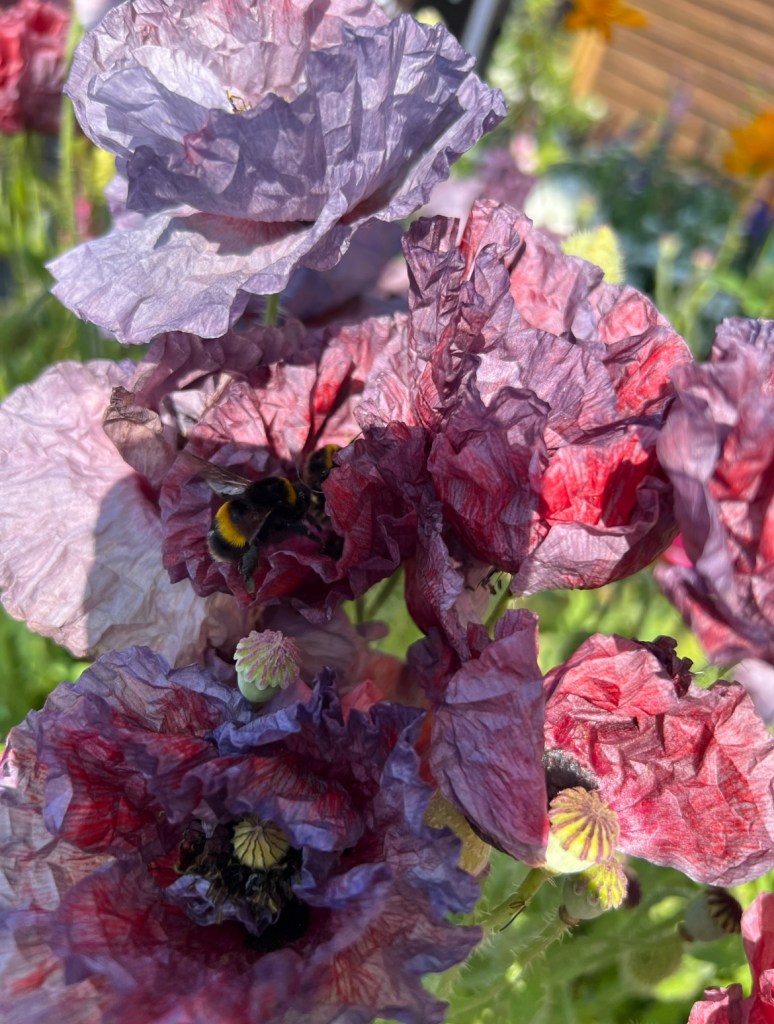
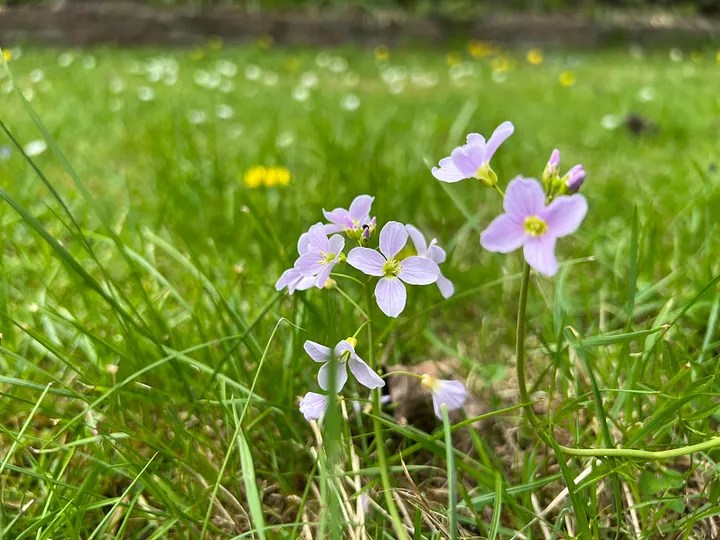
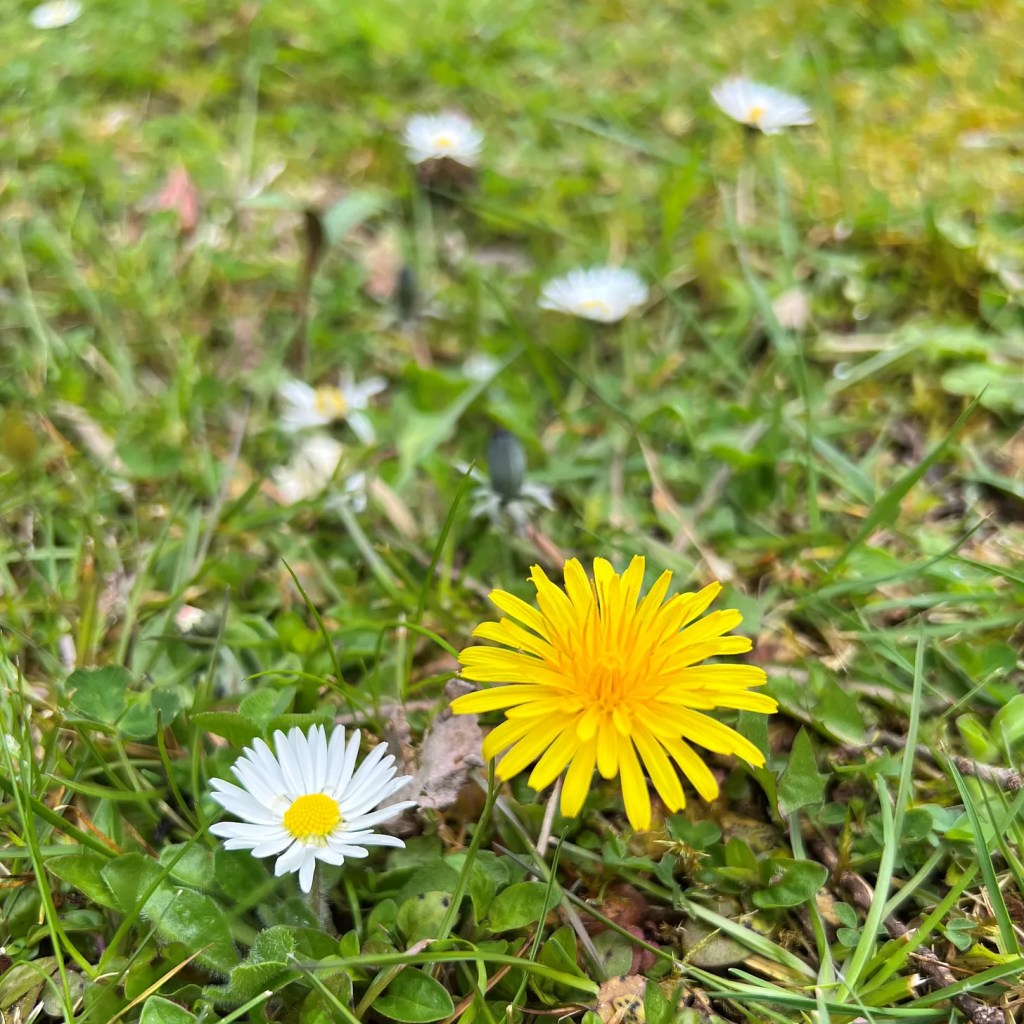
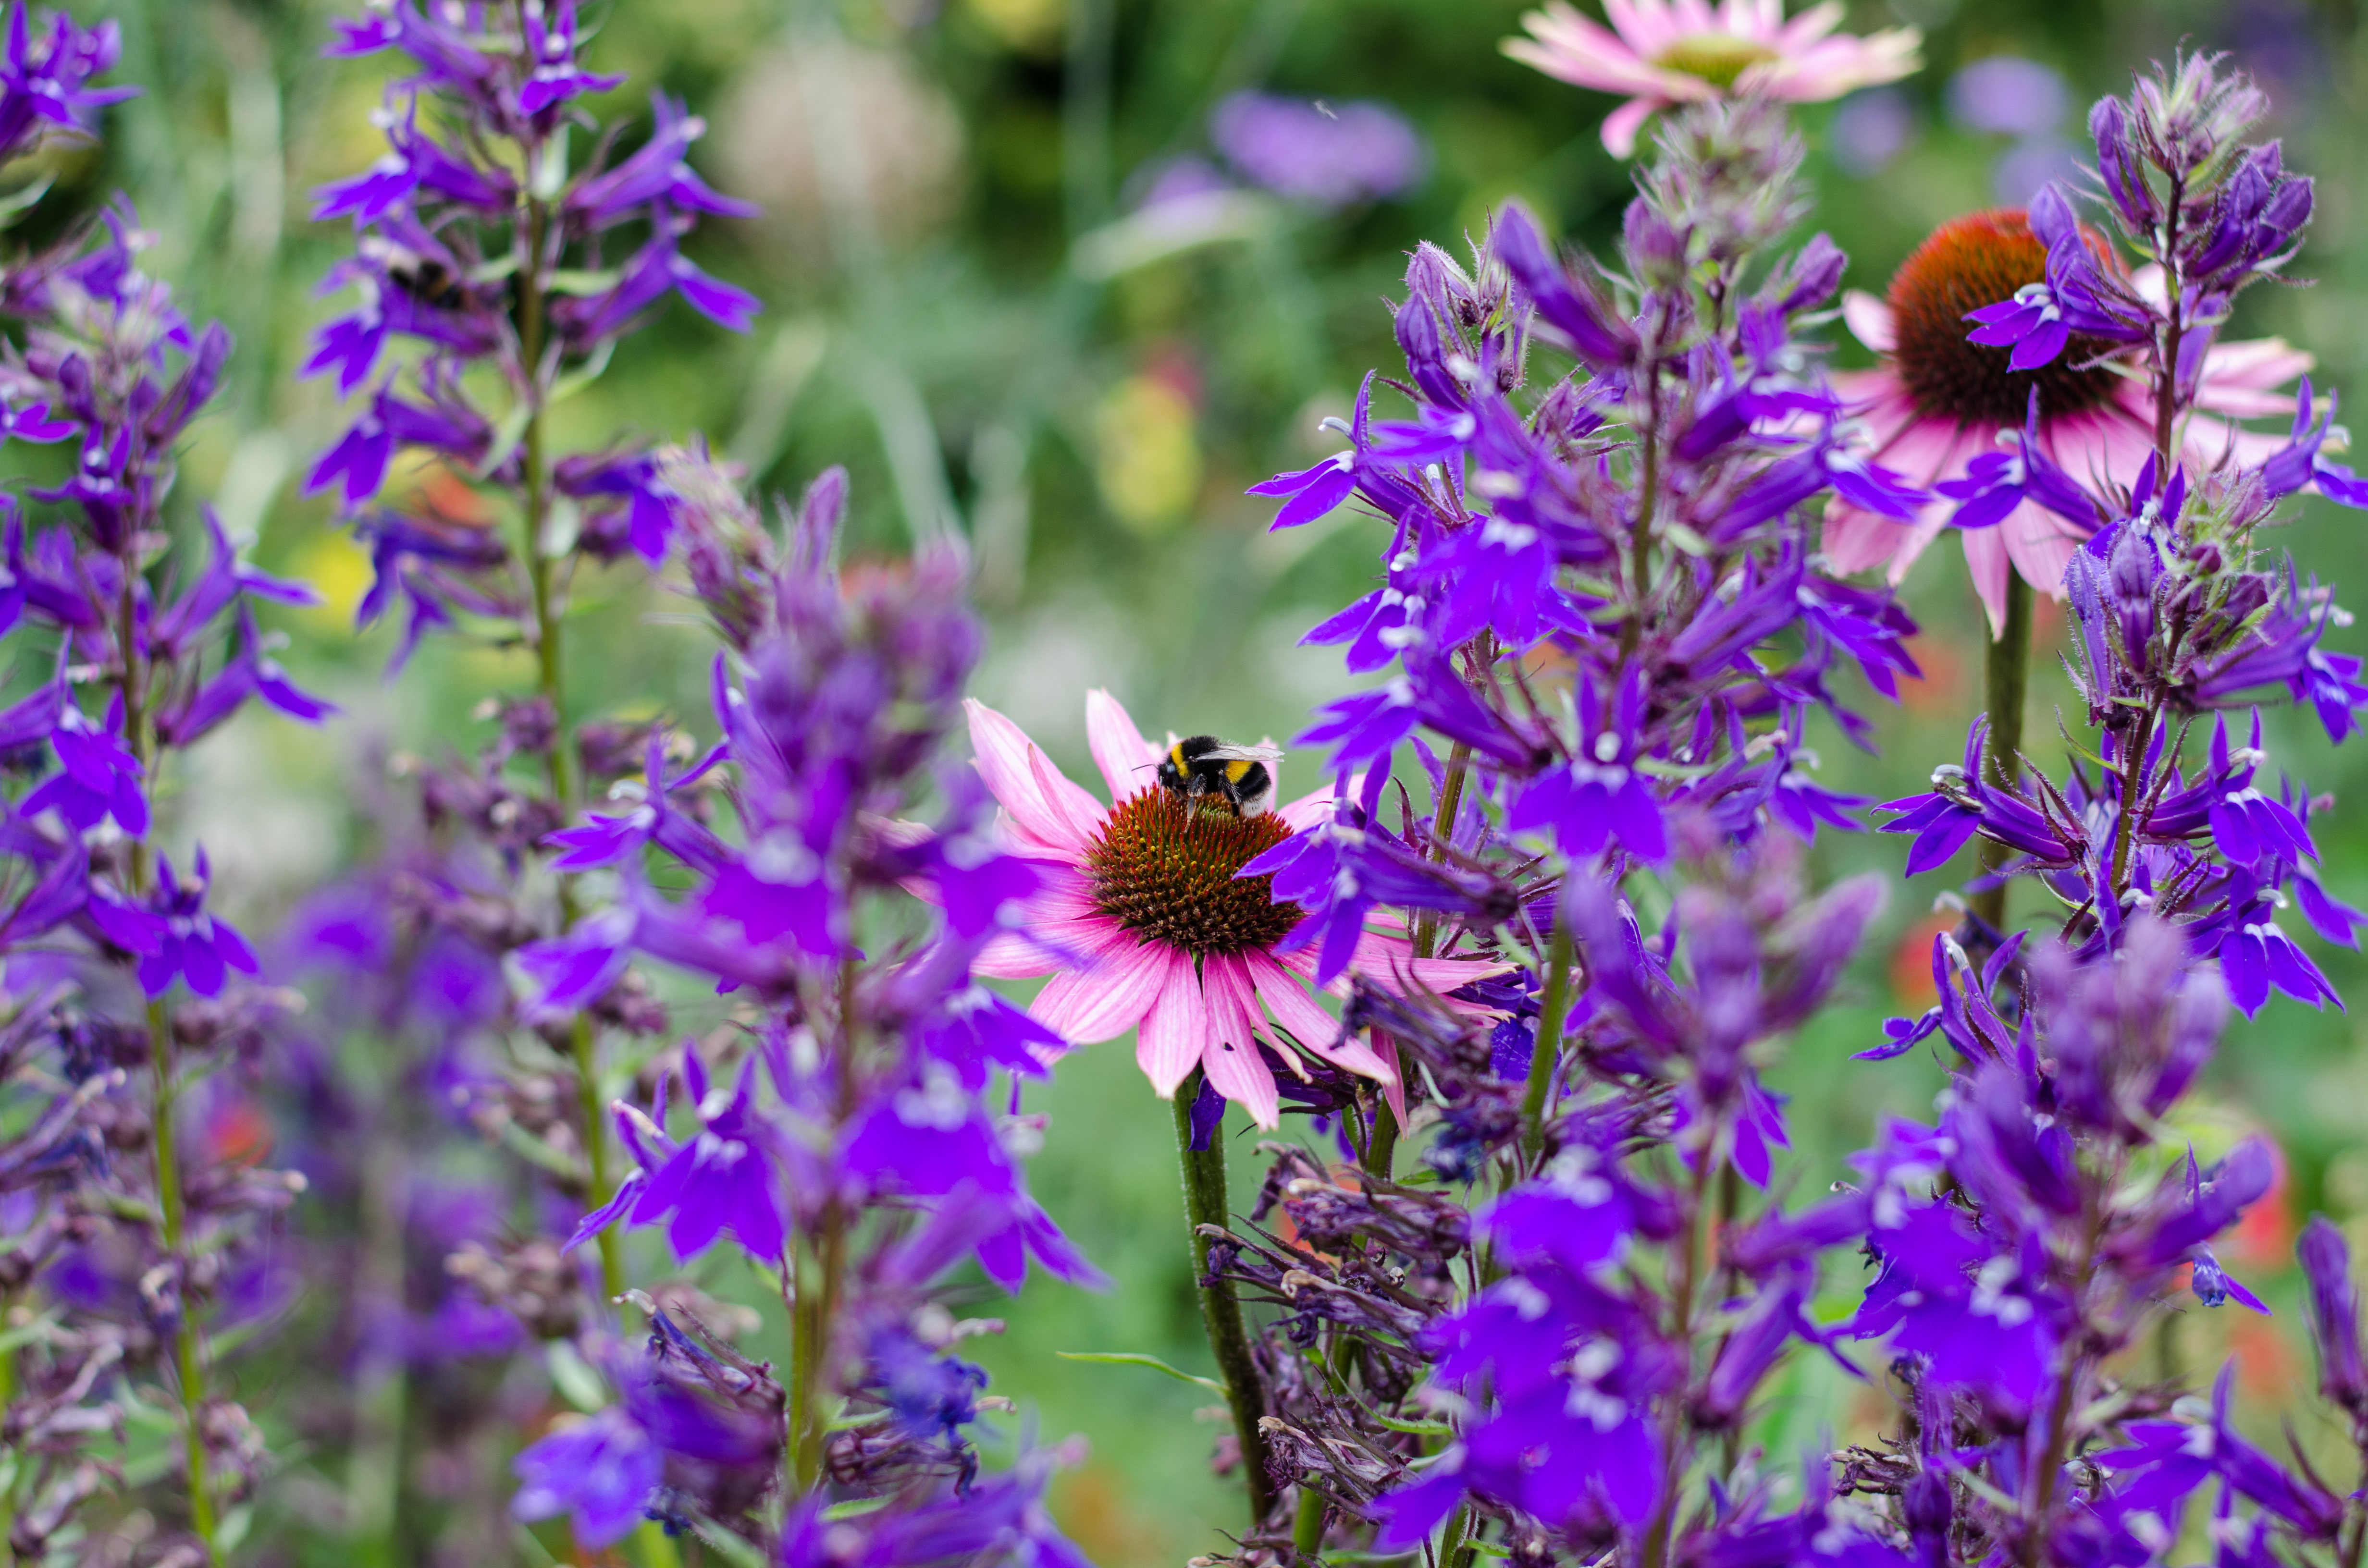
  • daisies, dandelions and other wildflowers in your lawn are food for bees, flies and other pollinators
  • it’s a feast for the senses – walking barefoot on grass, the smell of a freshly mown lawn, the sound of bees buzzing on the flowers, a lush, green oasis of calm

Artificial grass may seem like a good alternative – but it has a really big carbon footprint caused by manufacture, transport and installation, and it involves huge areas of plastic which can’t be recycled.

Although it’s designed to drain, water runoff can be a problem with fake grass, as doesn’t absorb rain in the same way as soil; plus, micro-plastics are washed into the ground, polluting it for centuries. Although it seems like an easier, low-maintenance option, artificial lawns have serious implications for the environment, including water conservation. 

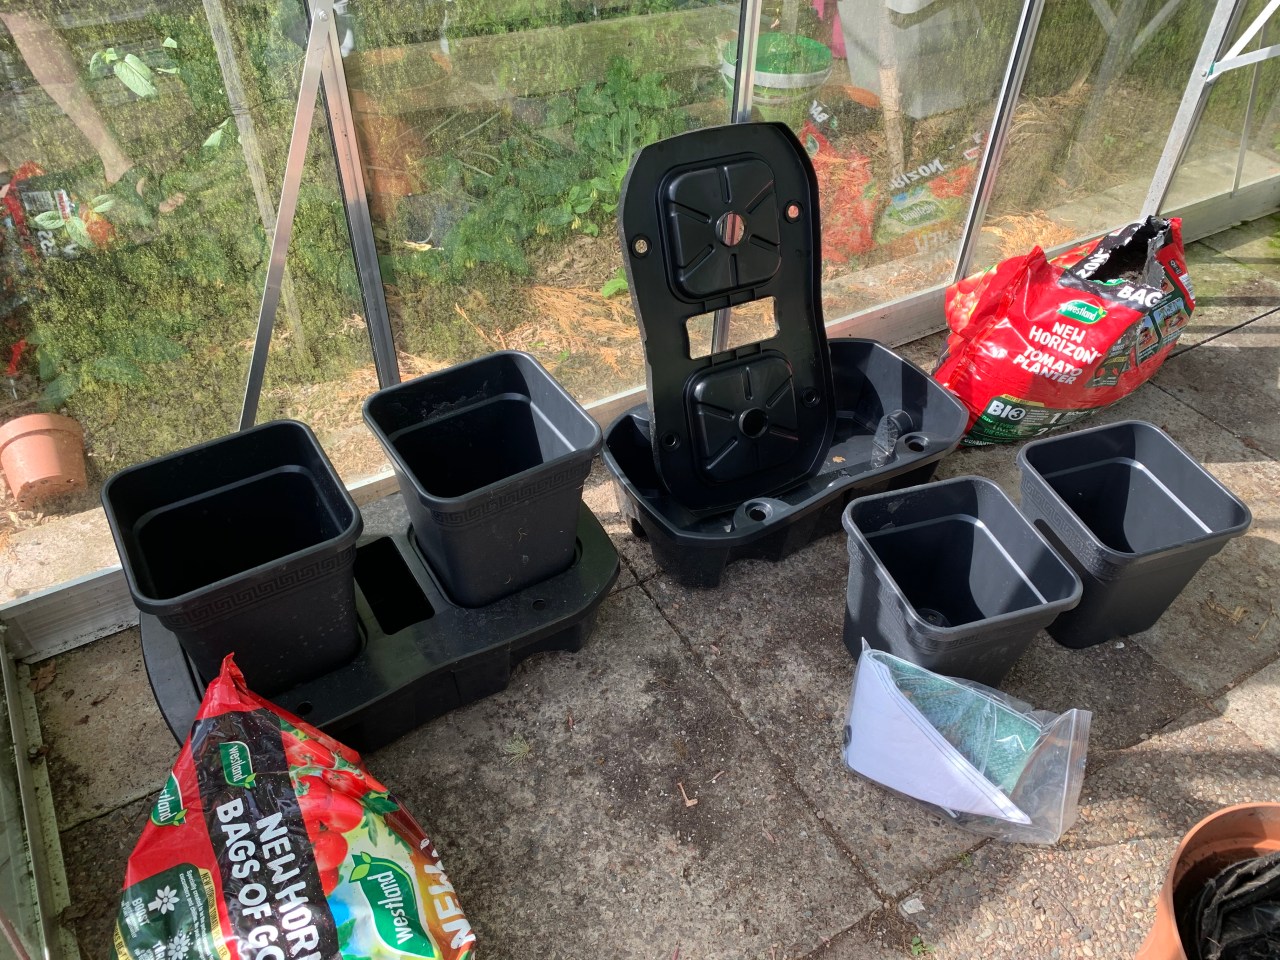
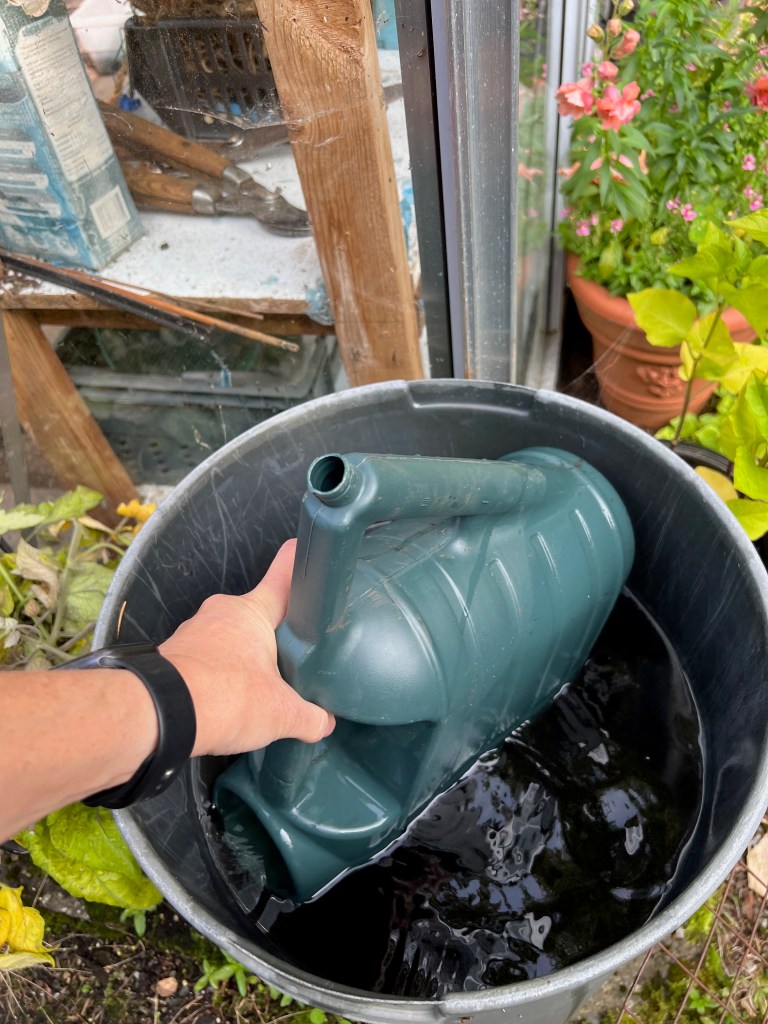
3. Install a water butt 

Now is actually a great time to think about how to reduce your overall water use – a few preparations will set you up for this year’s growing and reduce the likelihood of flooding during the wetter months. It’s the perfect time to install a water butt, to collect any rainfall in the coming weeks – it should be nice and full come spring! You can watch our video on installing a water butt here.

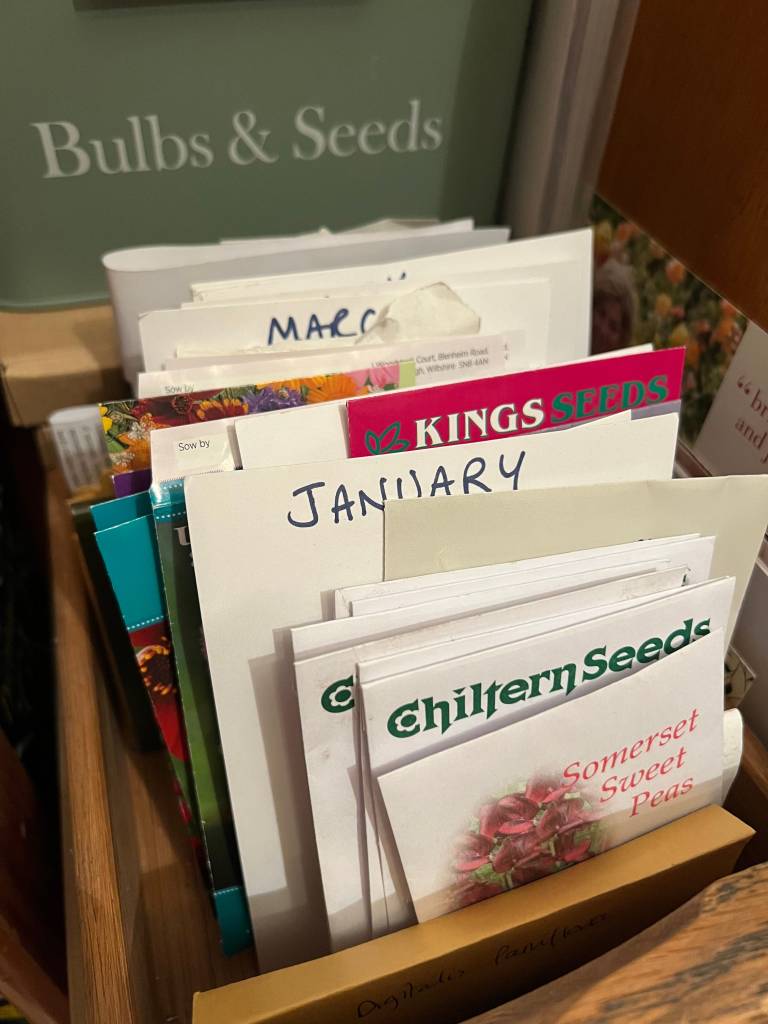
4. Spring bare root planting 

Spring, like autumn, is a great time to get new plants in the ground, giving them time to put down roots and reduce the need for extra watering when it’s warm again. Many are sold bare-root during autumn and winter, which often reduces the packaging required too. Bare-root is just what it sounds like – the plants are sold without pots and soil, and it doesn’t cause them any harm because they’re dormant. They often benefit from a good soak in a bucket of water before being placed into their planting spot with some fresh compost. 

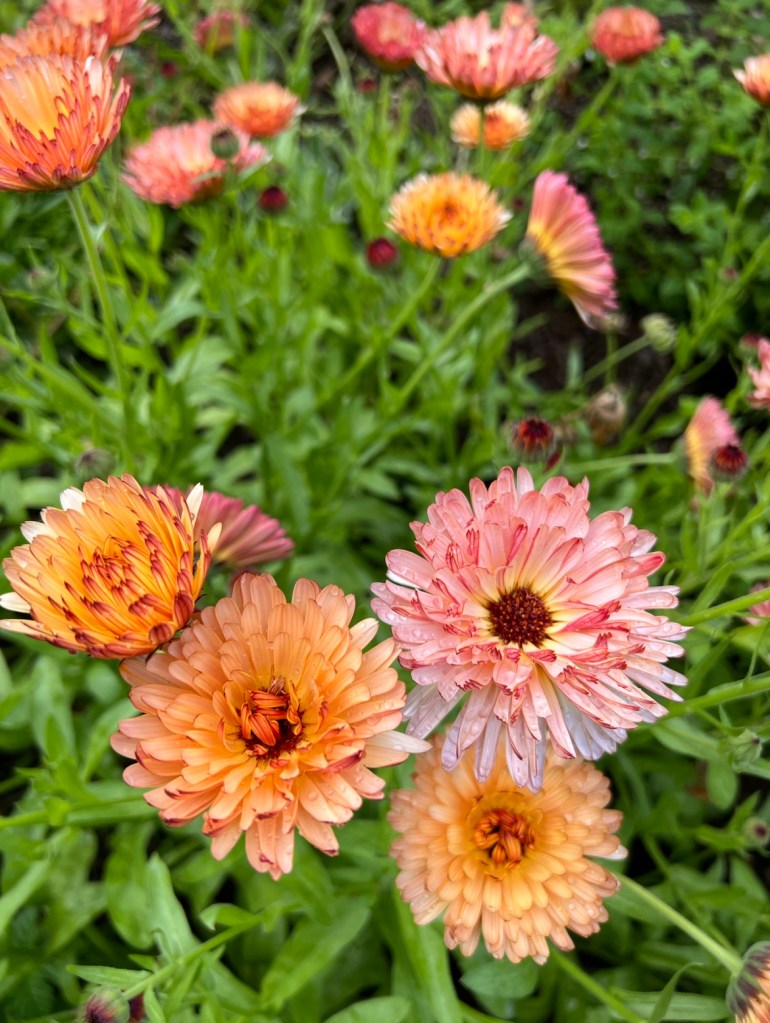
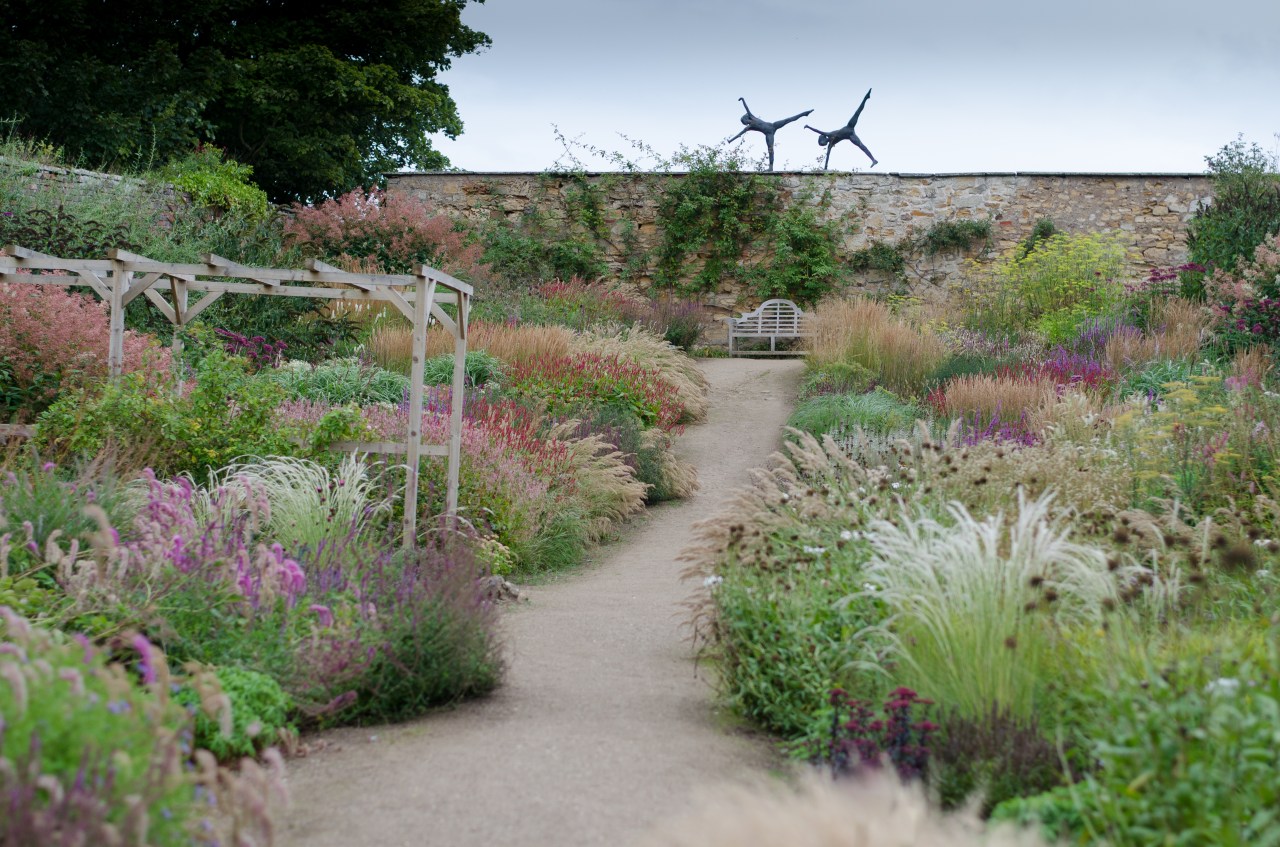
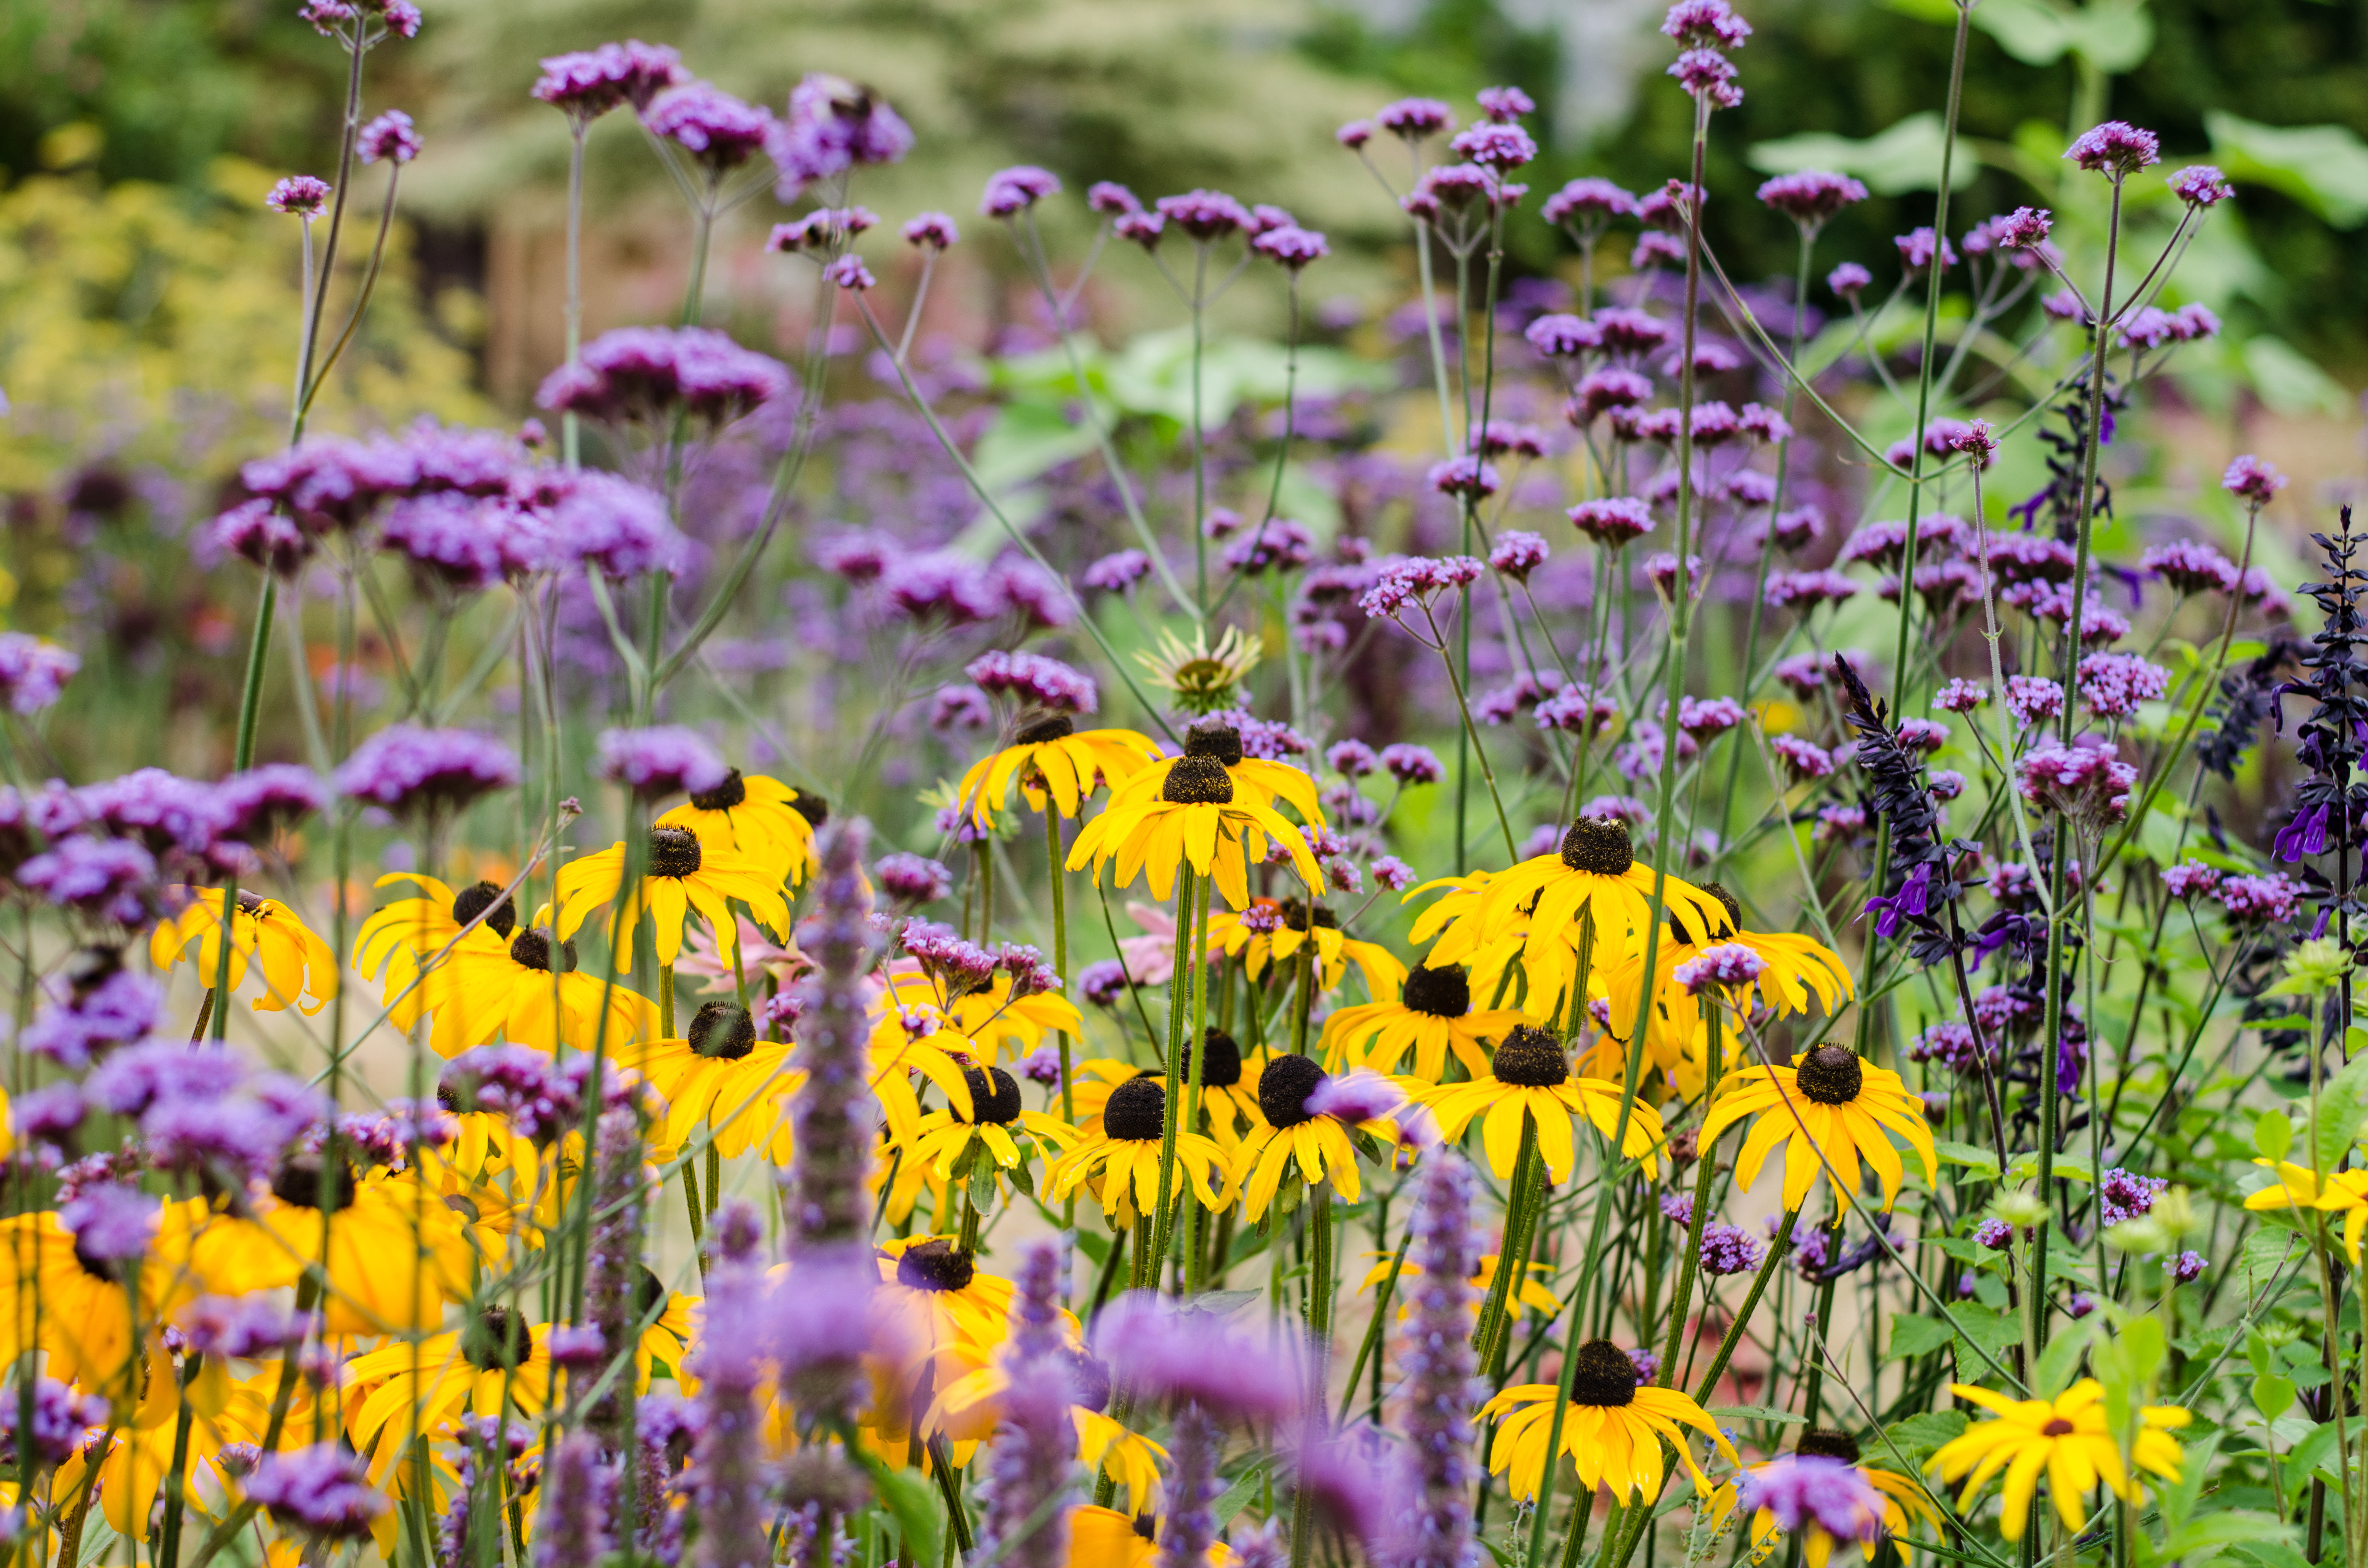
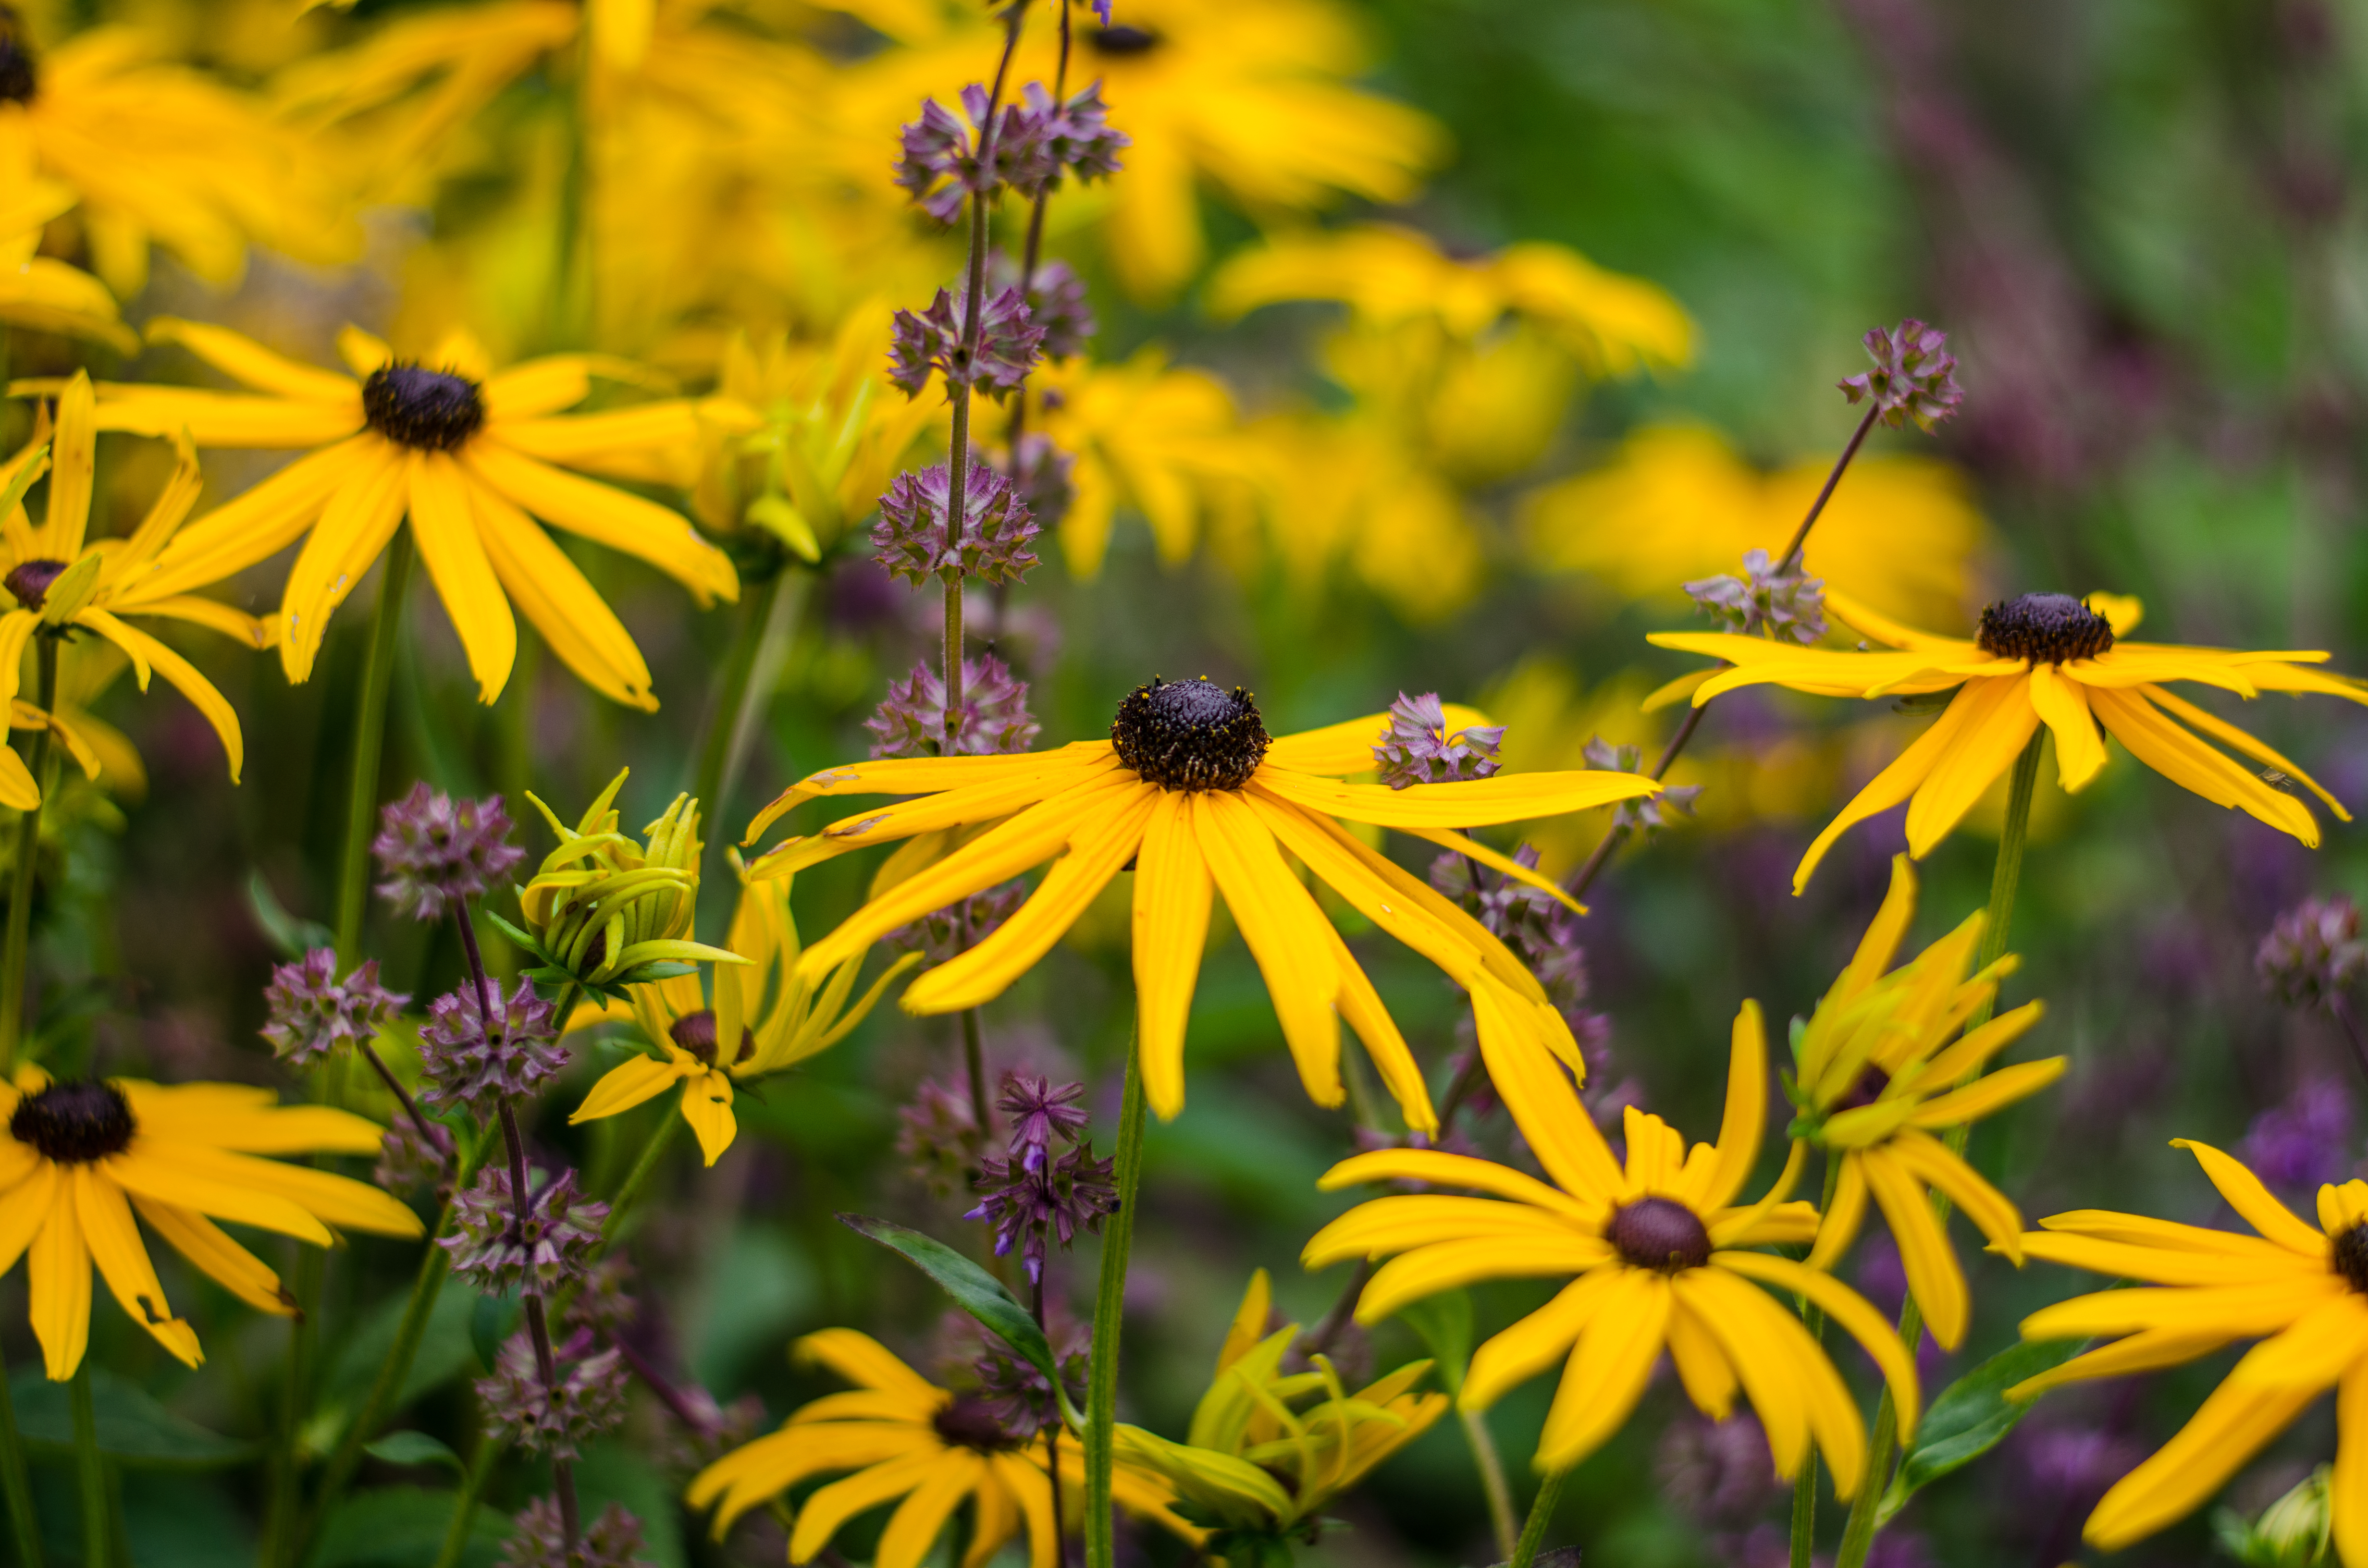
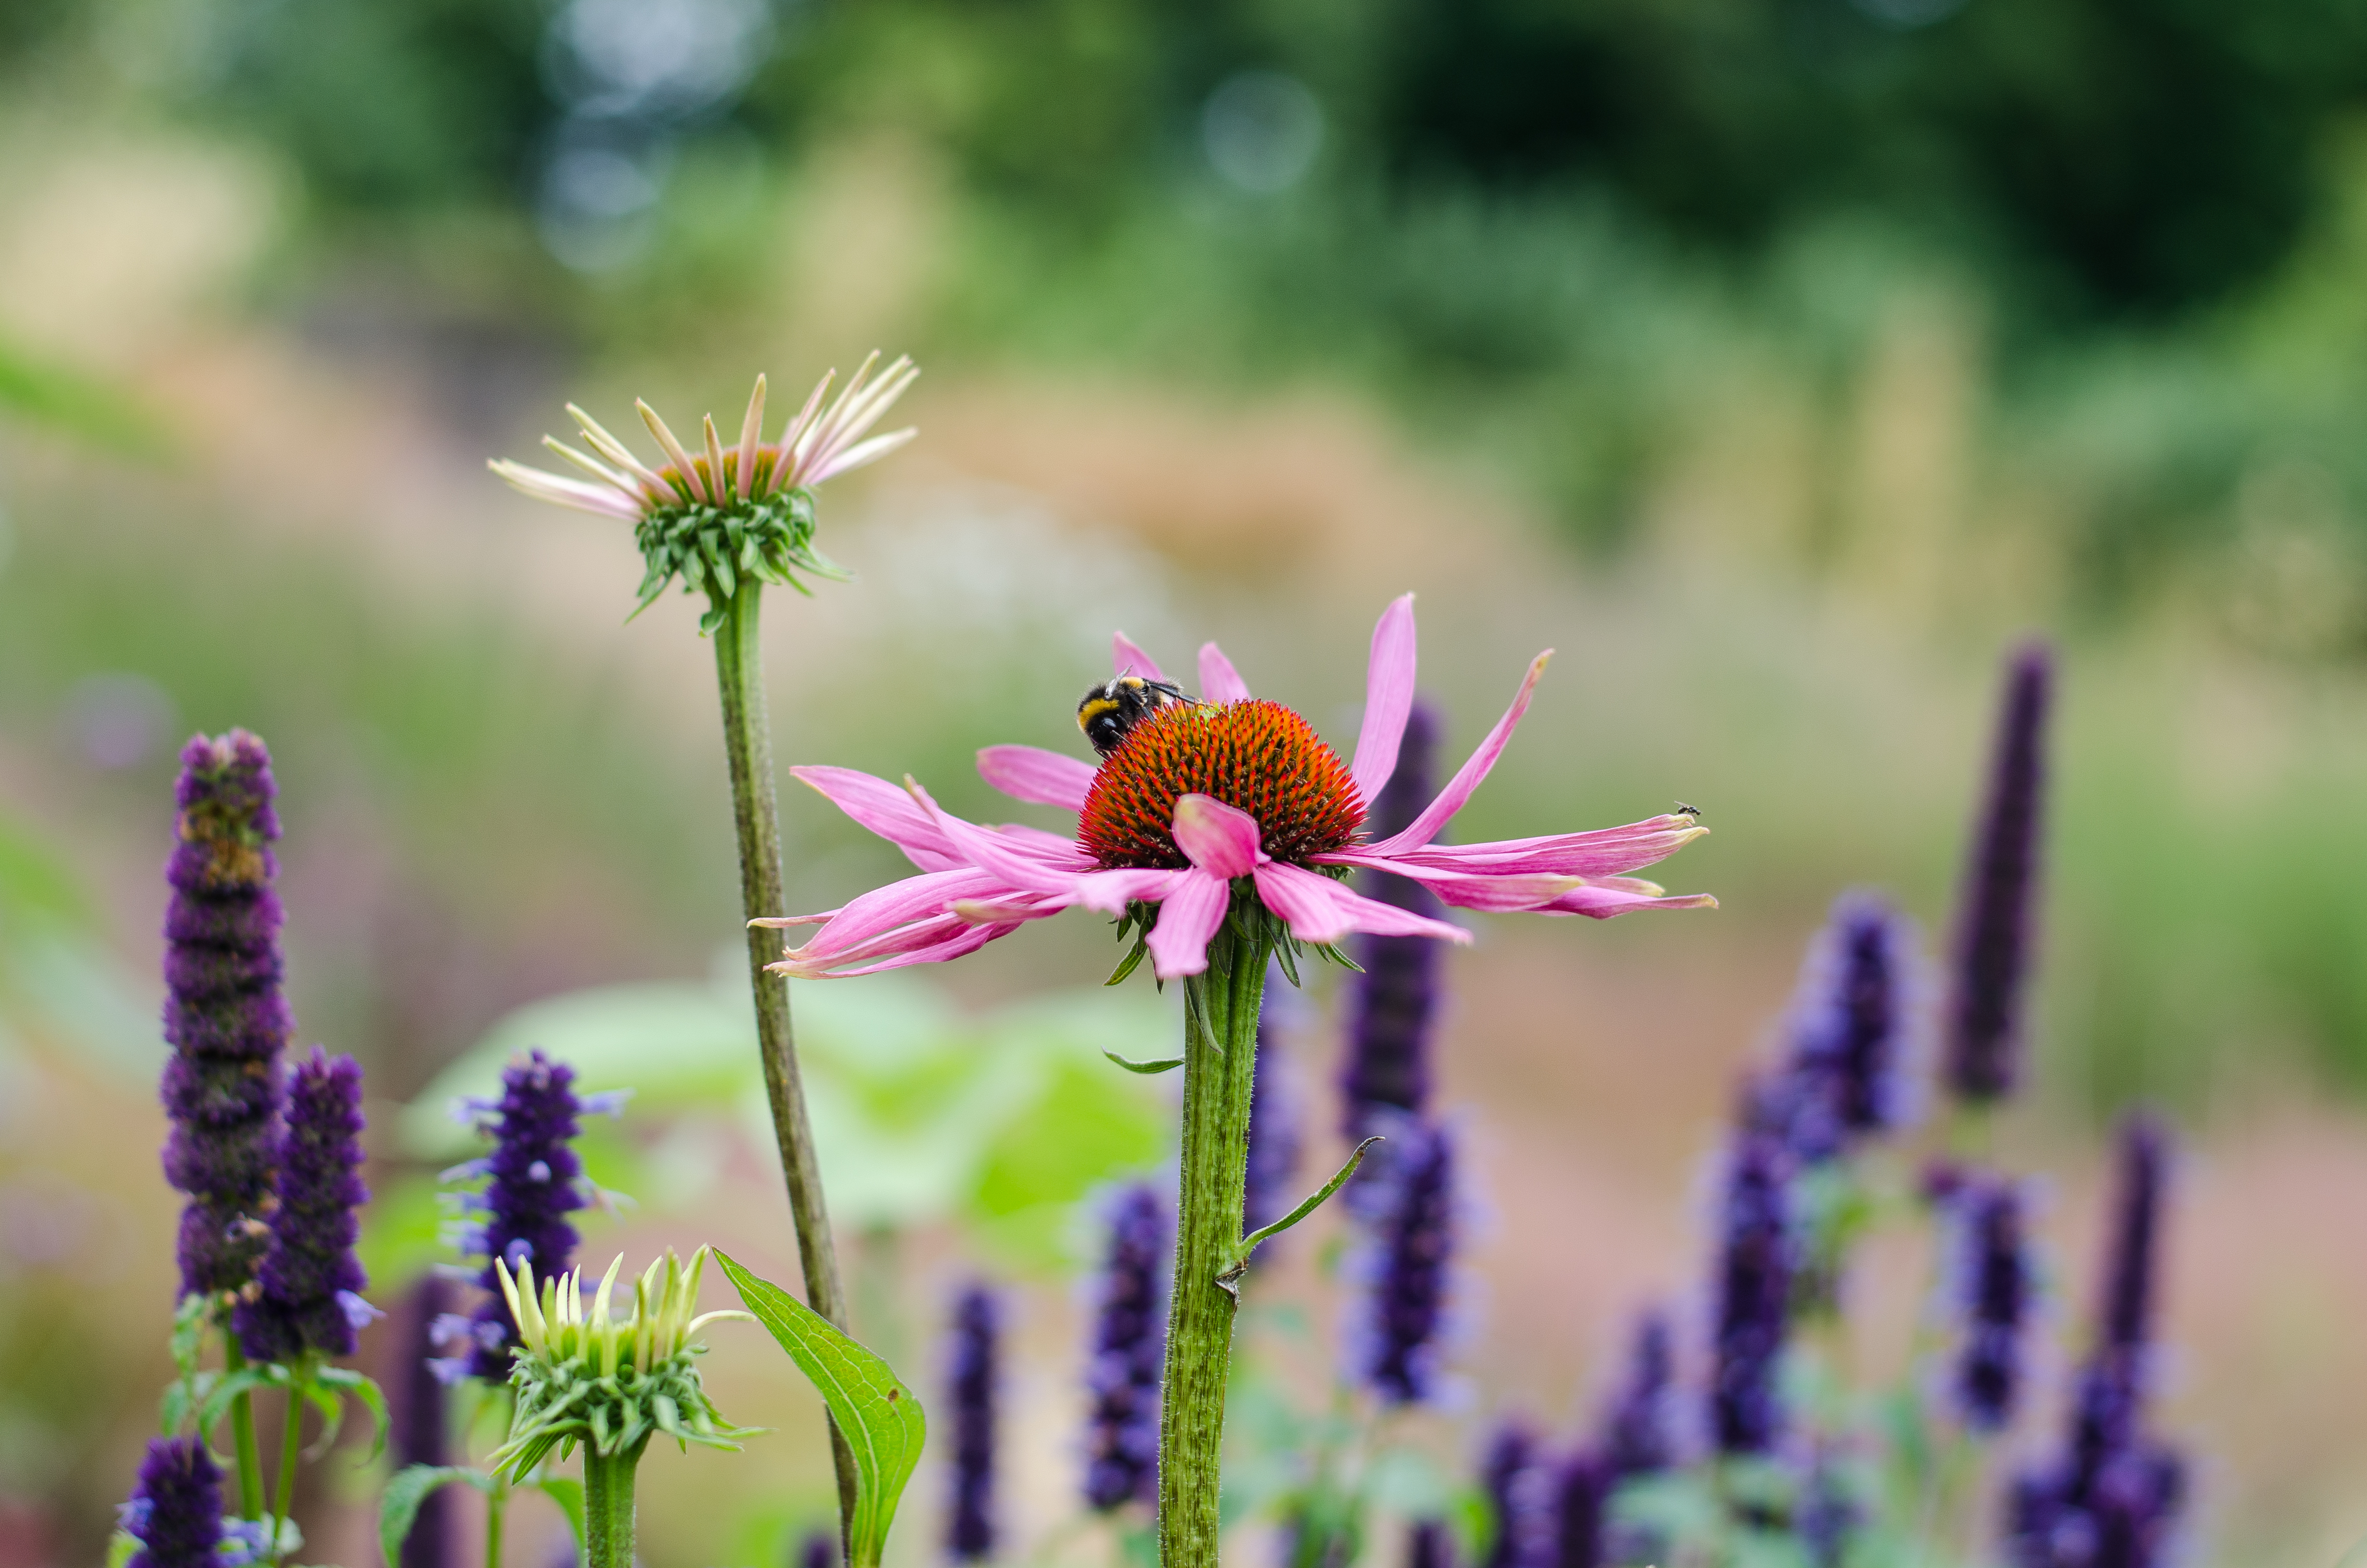
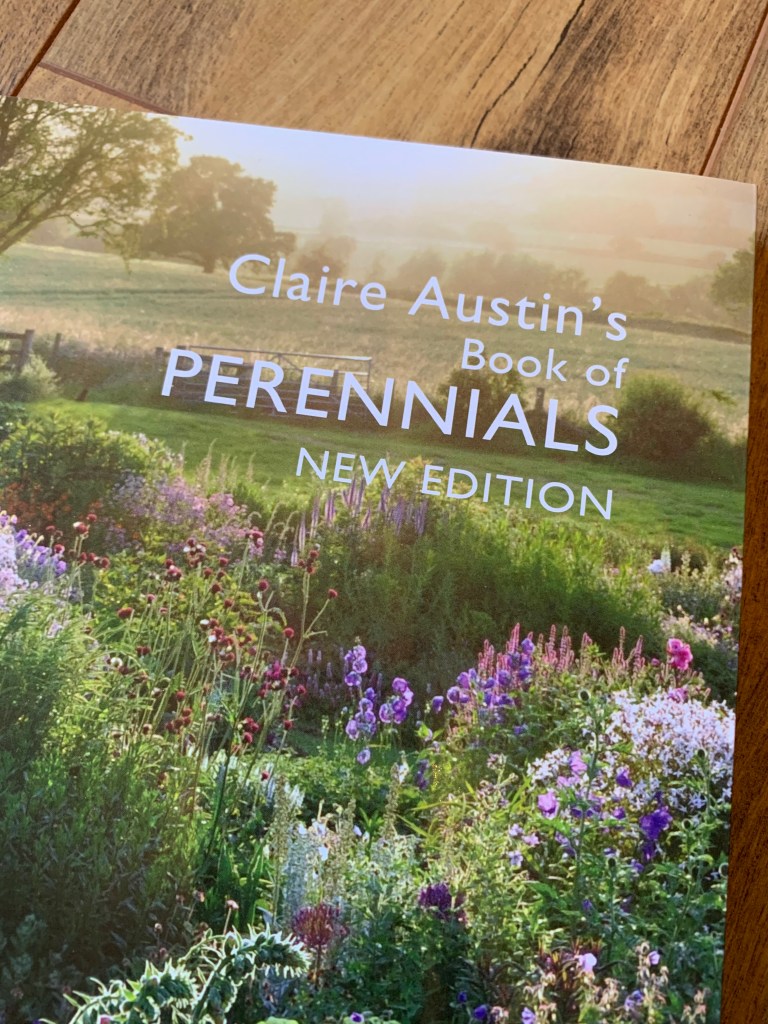
You could consider filling those gaps in your borders with more drought-tolerant planting too – for example, scented Lavender, soft Stachys, bee-friendly Echinops and swooshy Stipa are all great examples of sun-lovers which don’t need much watering, even in a heatwave.

5. Mulching 

Mulching your beds and borders is a one of the top tasks to undertake in spring  – there are so many benefits for your garden, including helping to lock moisture in the soil, reducing the need for watering. Mulching simply involves spreading a layer of organic matter on the surface of the soil – this can be compost, spent soil from tubs and containers, leaf mould, grass clippings, chipped wood or bark or any other dead plant material. The mulch will gradually be broken down over time by weather and insects, and absorbed into the soil, making it healthier and introducing nutrients to help feed your plants naturally. 

Mulching with homemade compost is even better, as it’s a really circular way to re-use the clippings, prunings and old plant material you’ve collected over the course of the previous year. Allowing these to break down in a compost bin or heap will provide you with nutrient rich mulch, returning the goodness back into your garden.

Exit January… enter February

Did you feel it? The subtle season shift? 

Yesterday, on the 1st of February, the air felt different. The sky was a bit lighter, the greens were a bit greener. It was as if – once January was finally out the door – the world could breathe a sigh and get on with the business of spring. 

There are only very early signs: a few little snowdrops nodding on their stalks, fat shoots of daffodils poking out of the soil and leaf litter, an extra few minutes of daylight each afternoon. I even heard the sound of a woodpecker hammering on a tree in the woods – which always gives me a thrill because it’s one of the earliest spring sounds. 

These are just little things, small signs, and we are still very much in the depths of winter here in Scotland – but it’s enough to inspire hope and a sense of anticipation about the new season that’s around the corner.

Spring preparations 

While we wait out the last blasts of the winter winds and (no doubt) icy, cold days still to come I’m getting busy with preparing indoors for the growing season. That means sorting my seeds: checking which open packets still have seeds in them, assessing their likelihood of germination against the suggested expiry date, reminding myself of those plants I want to grow again, and those which I’ve lost enthusiasm for. 

One of the beautiful things about growing a garden is that you can change it up every year if you like – or keep things exactly the same. Or something in between! There are some flowers and vegetables that are on my ‘must grow’ list, including tomatoes, dahlias, sweet peas and cosmos. I grow these every year and I mix a few favourites with new varieties and colours.

Then I also look down the notes and lists in my phone or saved photos on Instagram which remind me about new plants I want to grow or new varieties to try. I think about the colours I’m most drawn to – I like to choose shades which complement each other and at the moment I’m loving soft pinks, creams, apricots but also pairing this with a dash of dramatic dark red or purple. 

For example, I love cosmos and will nearly always grow white ‘Purity’ as it’s such a fantastic, reliable plant and great in cut flower arrangements. But this year I’m very excited to try ‘Apricotta’ as I’ve admired the many Instagram photos I’ve seen other growers posting last summer! It looks like a gorgeous soft colour which will probably vary between blooms and change as the petals age, which is often the way with coloured cosmos.

Cosmos ‘Apricot Lemonade’

So, now I’ve got an idea of the seeds I already have, and I like to arrange these (and any new additions as they arrive in the post) into the months I’ll plan to sow them so that I can keep track of what to do and when. It makes it much easier when I have an opportunity to get into the greenhouse to simply glance through the collection and pick the ones I want or need to sow that month. 

January and February’s selection is always much smaller than March and April! But there’s no rush – for me, the timings are more of a guide and way to prioritise rather than a hard and fast rule. And it’s also important to keep an eye on the weather – I may hold off some of the sowings in February and March in order to give more plants a better start later in the spring as they will catch up fast in warmer, sunnier conditions.

In the meantime, I’m browsing some of my favourite seed suppliers to fill the gaps in my wish list and look out for any good bargains. 

In terms of other indoor prep, I also usually draw a plan of the raised beds in The Secret Garden and figure out what I should plant and where, with a loose idea of crop rotation. If I’m feeling really nerdy I’ll open my spreadsheets (Airtable in fact) and update the plants and seeds I’ve got in stock – I might even start a mood board of colours for my sweet peas and dahlias! 

Most of these plans will probably change and be adapted as the season goes, but it always feels good to start off with a plan – and it’s something enjoyable and constructive to do when the days are still short or the weather is, as they say round here, “blowing a hoolie” and making it difficult to get outside.

What I’m looking forward to growing in 2024 

Here are some of the flowers I can’t wait to see in flower in my garden this year: 

Cosmos ‘Double Click Cranberries’ – I resisted growing these for ages but sowed some last year and instantly fell in love with them; gorgeous deep pink coloured flowers, a good size with little frilly double petals – like a jewel in your garden.

Sweet pea ‘Juliet’ – I usually go for pinks and purples (and have plenty of these this year too!) but I was drawn to the soft cream-apricot colour of these, so I’m giving them a try.

‘Amazing Grey’ poppies – they look a bit weird in photos but when I saw these in real life at Gardeners World Live not only were they a mesmerising grey-red-purple colour, they were heaving with bees! I managed to resist buying one then and there, and ordered seeds instead to grow my own! 

Calendula ‘Sunset Buff’ – these grew in huge clumps at Hospitalfield where I’m a garden volunteer and they are the prettiest soft peach-pink. A lovely alternative to the more common bright orange varieties and they just caught my eye every time I visited. 

Dahlia ‘Café de Paris’ – related to the Insta-popular ‘Café au Lait’ dahlia, this one has a similar shape with a soft pink blush to the petals – it looks absolutely gorgeous.

Other good stuff…

📖 I can’t wait to get started on Arthur Parkinson’s latest book The Flower Yard: Planting a Paradise. I want to do more container growing this year and Arthur has the best eye for combinations of plants which also benefit pollinators and wildlife – I’m certain I’ll be inspired.

🧤 More spring prep – I’m ordering more gloves from Niwaki. These are my favourite light gloves with a nice neat fit which makes it easier to weed or do more fiddly work with them on – I dislike bulky gloves. I’m ordering two pairs this time as I lost one of my existing pair and have been bereft ever since! 

👩🏻‍🌾 I love the variety of international horticultural jobs in this list from Mr Plant Geek. It really shows the variety of roles and skills you can combine in the world of horticulture – so check it out if you are entering the industry or fancy a career change.

Finally… are you going to this? I’m tempted 🤔 The brand new RHS Urban Show seems like it will step away from the usual, more traditional ideas of gardening with its focus on urban and indoor growing and an emphasis on wellbeing. I’d be interested to see if the kind of gardens and exhibits they will have on show are realistic and achievable for all or simply a token nod to houseplants and balcony gardens… could be interesting!

Houseplant Week: Sundews

If you love houseplants you’ve probably come across them – those tiny little annoying flies that flit around the soil, seem to enjoy flying straight into your face and keep multiplying, no matter how many you manage to squish. They’re fungus gnats, or sciarid flies, and they like to live in damp compost. They’re usually more annoying than damaging – in any case you probably want to get rid of them. 

As it’s currently Houseplant Week here in the UK, I thought I’d share with you my top tip for controlling those irritating little beasties: let nature give you a hand by getting yourself some Drosera capensis, or sundews. These are carnivorous plants with small, sticky leaves which capture insects, like fungus gnats, breaking them down and absorbing the nutrients through their leaves. I currently have three small plants which rotate to different areas of the house, depending on where the latest infestation is taking place.

Caring for Sundews

They like lots of light and are happy in full or part sun. Their main requirement is moisture – specifically rainwater, which is better for them than tap water. They’re often found growing in boggy or wet conditions in the wild, so to keep them happy indoors, stand them in a tray or saucer of rainwater to keep the soil consistently damp. I’ve learned this the hard way, having killed a few with my sporadic approach to watering, but I now have a water butt close to the house, making it easier to access rainwater when I need it. Now I just need to remember to keep those saucers topped up… 

Sundews are a bit more dormant in the winter, when a few leaves might go brown and die off, but they should bounce back with new growth in the spring, and can produce one or two really pretty, dainty flowers which are surprisingly long-lasting.

Where to get them

I have bought a selection of plants in the past from Hampshire Carnivorous Plants – unfortunately the last time I used them I discovered their packaging isn’t great, they seem to use A LOT of plastic. However I have received really healthy plants which are a good size and well labelled.

The excellently-named Little Shop of Horrors has a nice selection of varieties and collections (many currently out of stock – I assume that will be resolved when spring rolls around).

They’re also available from Wack’s Wicked Plants (again, stock is low but there are one or two different varieties available) and they can also be found at some of the bigger garden centres and suppliers, such as Thomson & Morgan and Crocus

There are hundreds of different kinds of Drosera, some have red leaves, some long, elongated leaves, others are flat and round – look around until you find a style you like and go for it! I usually buy the fairly common Drosera capensis and I’ve also had success with Drosera aliciae, which has broader leaves with an attractive red tinge.

If you’re not keen to add to your houseplant collection or think sundews might be too high-maintenance for you, I’ve also managed to keep on top of fungus gnat infestations by using Sciarid Fly Nematodes which are tiny little microscopic organisms which release bacteria to kill the flies. (If you’re not squeamish about it, there’s a more detailed explanation of how they work here). All you do is mix the nematodes into water and then drench your houseplant soil to release them. 

So there you have it – a useful plant to add to your collection. Not only does it help reduce fungus gnats but it’s also fascinating for adults and children (if you don’t mind watching flies being digested!) – and it’s attractive too.

Other good stuff…

📖 I’m reading my way through this in 2024 and loving watching the micro-seasons unfold

🎧 This series is an interesting listen for anyone interested in a career in horticulture 

🌱 They’ve found new plants in the world! Nature is amazing.

Winter Sown Sweet Peas

Sweet peas were one of the first plants I grew from seed – or, now that I think about it, from seedlings. It was quite a long time ago when my children were still small, and I felt the urge to grow something in our little garden. It needed to be easy and rewarding and I remember picking up some small sweet pea plants in cardboard pots from somewhere – probably a local garden centre. 

They succeeded, and the love of growing was awakened from deep within, although at the time I had two youngsters and a job and not very much time to do anything about it. Fast forward a few years later and sweet peas are still one of the stalwarts of my garden. I sow some in late autumn/winter and usually some in the spring too, aiming to have at least two or three large frames with a variety of colours and scents, and a steady supply of flowers to pick and bring inside for the vase.

As far as I’m concerned these are fair game to sow at any point between now and spring. I sometimes even make a point of sowing on New Year’s Day – a welcome break from the festivities to mark the turning of the year and the beginning of a new growing season.

Autumn/winter sown sweet peas are generally stronger and flower earlier than spring-sown, but you do have to have a bit of space somewhere to raise them and overwinter them. This year I’m germinating mine on a windowsill in a small north-facing sunroom at the back of the house, and will then move them to the greenhouse where they can grow on, slowly and steadily, until spring when they can be planted out surprisingly early – sweet peas are hardier than they look.

Sowing

Some people soak sweet pea seeds first but I’ve never done this and my seeds usually germinate very reliably. I use a mix of general purpose peat-free compost with a couple of handfuls of horticultural grit and perlite. For pots, I either sow one seed each into rootrainer modules (like these from Sarah Raven) or three seeds into regular square 9cm pots.

The benefit of the rootrainers is that they are nice and deep, giving the roots lots of space to develop, running up and down the grooves inside each module. And once the seedlings are big enough to be planted out there’s very little root disturbance as you can just pull apart each module and plant out the whole seedling, roots and compost and all.

Although not quite as deep as rootrainers, 9cm pots also do a good job, they save a little bit of space and compost as you can sow three seeds into each one, and you can opt to pop the three seedlings from container to ground as well, no need to pull apart each plant.

Pinching out

This needs done when the seedlings have put on some good growth, which is likely to have happened by spring. When the plant has three or four pairs of leaves, either snip or squeeze off the top of the main stem, leaving one or two pairs of leaves. This means side shoots will develop, leading to bushier plants and more flowers.

Planting out

This will depend on the spring weather! For me, in Scotland, I choose an opportunity in April or May when the weather is reasonable and there’s no imminent heavy frost or cold snap. This wouldn’t necessarily kill them off, but would certainly check their growth, so ideally I’ll try to wait until I’m fairly sure the weather will be settled to let them get established. If it’s very mild it’s possible (but perhaps more risky) to plant out in March. As I said above, sweet peas are tougher than they seem and although a touch of frost may nip the youngest leaves, it shouldn’t do more harm than naturally pinching out the top growth.

Support

Sweet peas need support, and when they’re first planted out they may need tied in or at least pointed in the right direction – as they grow they’ll develop little twining tendrils which will keep them attached to the structure you provide (or to nearby plants!) So check on them regularly and tie them in with soft wool or jute twine to ensure they’re growing against the structure, otherwise the weight of the stems or a stiff wind could bend them over and damage the plants. 

I used to craft a V-shaped structure out of bamboo canes and twine – until summer 2022 when most of the twine was stolen by nesting squirrels, leading to major structural integrity issues! Last year I bought a couple of these willow obelisks from Wilko and they’re fab – they look natural and are really easy to pop up and place wherever you want them in your garden. I put them onto the surface of the raised beds where I grow most of my cut flowers, but they’d blend in really well in a mixed border too.

Varieties

When it comes to what kind of sweet peas to grow, that’s entirely up to you and there’s a plethora of colours, sizes and scents to choose from. There are different groups of sweet peas, so you can choose broadly depending on what you’re looking for:

Grandiflora – as the name suggests, have large flowers and a good scent

Spencer – bred to be frilly and brightly coloured, good for showing

Species/heirloom – these have smaller blooms and simpler colours and a really strong scent

There are also dwarf varieties – these are compact and good for containers.

NB – there’s also an everlasting sweet pea – this is a perennial variety, so it comes back year after year, but it doesn’t have any scent so if that’s important to you then make sure you go for the annual types!

Recommendations

I’ve grown a lot of different varieties – I usually mix it up year to year, going for colours that I’m drawn to, or names that are meaningful – or simply sowing whatever packet I happened to have received as a gift or special offer!

These are some of the sweet peas I’ve enjoyed most in recent years and would be happy to grow again: Jimmy Shand, Cupani, Judith Wilkinson, Cream Egg, Erewhon. I also usually grow a packet of heritage mix, which reliably provides a variety of colours and good scent.

No Mow May

I’ve spotted little flashes of soft pink and purple in my back garden in the past few days, glad to see the return of some of the wildflowers which will help the local pollinator population.

It’s No Mow May, which is a great initiative for improving biodiversity and encouraging homeowners to do their bit to help bees and other pollinators. It’s a very appealing opportunity to be lazy in order to benefit wildlife – basically all you have to do is… nothing! Just don’t mow your grass for the month of May, allowing daisies, dandelions and other wildflowers, which would otherwise be razed, to spring up. This then provides a feast for bees, butterflies and other insects during spring and early summer as they feast on the pollen and nectar provided by lawns full of flowers.

There’s evidence that bees and other pollinators are in decline; we’ve also lost nearly 97% of flower rich meadows since the 1970’s. However, there’s a patchwork of gardens across Britain, which has the potential and the plant diversity to provide a feast for our struggling insects.

Daisies, dandelions, clover, buttercups, self-heal, speedwell, ladies’ smock… these are all the wildflowers – not weeds – which spring up in my garden when left unchecked. When you think of them as wildflowers, and not weeds, and you consider how pretty they really are, it’s much easier to keep the lawnmower tucked away in the shed. Not only that, but they are excellent sources of nectar and pollen for bees and other insects.

Cardamine pratensis – aka the cuckoo flower, lady’s smock, mayflower, or milkmaids

I enjoy taking part in No Mow May, partly because I love to see the grass in my garden come to life on a sunny day, with big fat bumble bees bouncing from flower to flower. Plus it’s easy, you really don’t have to do anything – an excellent propostition for the time-pressed amongst us. Less time mowing, more time to spend sowing seeds, keeping on top of weeds and planting up the summer borders – what’s not to like?!

I hope that people aren’t put off by the month-long commitment of No Mow May, or feel pressure not to mow – or worse, feel shame if they do mow! Gardening shouldn’t be about guilt – it’s about doing what’s right for you and your garden. And if you are twitching at the sight of the grass getting up to your ankles there are plenty of things you can do to boost biodiversity during May.

🌼Mow your lawn if it’s really getting too long and you can’t stand the scruff – but choose an out of the way patch to leave uncut, or leave the edges to grow long instead.

🌼Alternatively if you’re into a super-neat look then mow as usual, but consider planting up some containers with a wildflower mix in it, or some seasonal pollinator friendly flowers – pots of lavender, catmint, hardy geraniums or late spring bulbs will provide some goodness for the insects, with the added benefit of adding some colour to your garden.

🌼Do ‘Minimal Mow May’ – this is a less catchy name but is fun to say. Minimal Mow May is what I do – we have a back garden regularly used by family members and chickens, so it’s a bit more practical to keep it fairly short – I usually do at least one cut during the month of May, leaving some wild edges and a patch of longer grass at one side. We also have a front lawn which sets off the borders nicely when it’s neat, at least for a few days – all the dandelions and daisies tend to grow back very quickly anyway both front and back, so I never feel like I’m depriving the pollinators for very long.

Find out more about No Mow May at the Plantlife website.

The RHS has more tips on how gardeners can help pollinators here.

New Year, new blog post, new garden plans

It’s 2023! Garden-wise January can be a bit of a grim month. Everything looks brown and soggy and the days are still very short and usually cold, offering far fewer opportunities to get outside and do anything more than tidying up fallen leaves or cut down decaying stalks.

I do always get strangely excited about the turn of the year though, because I know that very soon I’ll be seeing the first little shoots of bulbs poking through the soil – and in fact many of them are already doing just that. January also means it will soon be time to start some early seed sowings. True, it’s still much too early for most annuals or vegetables, but there are a few seeds which do benefit from an early start, especially in Scotland, if you can time it right. 

Bulb shoots are nosing their way out of the soil in my back garden

Instead of making new year resolutions, I prefer to consider what I’ll do more of and what I’ll do less of each year. These are small shifts, as opposed to grand gestures, which are more likely to fall by the wayside.

In the past 12 months I’ve moved up from part time working hours to full time – and that has definitely impacted on the time I can spend in the garden, so I’m taking that into consideration for my 2023 growing plan.       

What will I do less of in the garden this year? 

  • Grow dahlias – I tell myself every year not to buy too many dahlias, and I inevitably fail miserably! However this year I think I’ve really learning my lesson – the dahlias definitely suffered because a lack of time, not to mention the very cold weather we had quite suddenly in November, and as a result of not lifting them and protecting them at the right point I’ve lost most of this year’s tubers.  So this year I will grow fewer dahlias and look after them better. I’m certain I’ll enjoy growing, taking cuttings and nurturing a smaller group, especially if it results in a better display of flowers from them this year. 
  • Growing less, better! – Again, my time in the garden is more limited than it used to be – and I want to avoid spiralling into overwhelm because I have 40 million seedlings to pot on, grass up to my knees and borders full of weeds! So simplification is the key – growing a smaller collection of vegetables, cut flowers and hopefully keeping on top of things as much as possible.
  • Spend less time in the garden – but MORE OFTEN. This is key – I may not have 2 hours to spare every day but I can still get a lot done in 10/15 minutes, or half an hour here and there – and I’m reminded of that every time I do it. Pulling a few weeds, deadheading flowers, pricking out a few seedlings – these things never take quite as long as I think and even a short spell in the garden or greenhouse is time well spent on my own health and a welcome break from work or home life! 
  • Hatching chicks – we love hatching and raising little chicks, but after a difficult time rehoming a number of boys last year, I swore I would not do it again. I’m planning to sell the incubator and enjoy the lovely hens we already have this year.
Molly approves of my plan…

What will I do more of in the garden this year? 

  • Design – I need to revamp one of the main patio areas in the garden; it’s been looking sad and bare (apart from the weeds) all winter and it’s one of our main sitting areas when the weather is good, so I really need to crack on, decide what we’re going to do with it and then get it done! I have a vision for a combination of circular paving, gravel and some drought tolerant, airy planting.
  • More design – I’m interested in Scone Palace’s design competition (details on their Facebook page) – I have no idea if I can do it, but I’d love to give it a try and I already have a few ideas around a possible theme… it seems like a good starting point to test my garden design skills, which I am currently studying to acquire so that I can pass some…
  • …exams – I’m determined to complete the RHS Level 2 course this year so that I can finally achieve a horticulture qualification. Two more exams to go in February – fingers crossed!
  • Pollinator friendly plants – more, more, more. I think this (and a decent level of drought tolerance) will be guiding my decision making this year – I just love seeing bees, hoverflies, butterflies, bee flies, ladybirds, all manner of insects flying or crawling around the flowers in my garden, so I’ll be choosing and growing more of the kinds plants which attract them and feed them. 
  • Podcasting?? This is a very tentative late entry. I miss writing and recording and meeting new and interesting Scottish gardening people. I might need to experiment a bit with format, content or routine, but if I can work out a way to make podcasting fit into my life alongside work, family and the garden itself, then you might be seeing some new episodes of The Scottish Garden Podcast in 2023…
I’ll be growing more pollinator friendly plants in 2023, like this Knauti macedonica, which bees love

Make your hens at home in the garden

Owning a flock of hens doesn’t have to mean bare lawns and patchy plants.  Your chicken coop can be an eye-catching feature, or blend into the background – and you don’t have to sacrifice your lawn for your feathered friends either.  Let’s have a look at how to keep chickens in the garden without compromising the look and feel of your outside space.  

Many of us keep hens in the garden, perhaps because they are family pets, special breeds or simply because they entertain us and it’s good to watch them potter about while we enjoy a cup of tea.  Some people believe that hens and gardens don’t mix – that the birds will destroy precious plants and the coop will be an ugly addition to your beautiful borders. But for those of us keeping a small backyard flock for pleasure (or a small profit) it doesn’t have to be that way.  There are plenty of plants which can co-exist with chickens, and whether your hen house is a thing of beauty or a simple structure, it’s worth thinking about how it fits into your outside space, and perhaps making a few tweaks so that it earns its place in your garden and your daily field of vision.  

Building your coop into the garden

The main things to consider when siting your coop in the garden are, of course, security, safety and the wellbeing of your hens. Fox-proofing and sturdy locks are essential to keep predators out.  Ideally the run should get a decent amount of sunlight as well as providing areas of shade during hot weather.  Existing trees and shrubs can be useful for this, as well as providing the perfect dustbathing area underneath where there is nice dry soil at the roots. So rather than plonking your run on the grass, which will disappear within days and turn to a mud-bath if not moved regularly, why not incorporate it into your borders?  This is what we did when we acquired our first three hens.  There was a suitable gap in the planting which allowed us to fit in a coop (green Eglu Go) and small wire run, surrounded by netting.  The idea was to allow our new little flock to roam within the netting and keep them out of the garden as a whole.  Fast forward four years and, of course, we’ve expanded.  The same coop is now inside a much larger aluminium run, providing more security when the family is out during the day, and allowing them the freedom of the whole garden when we’re around to keep an eye on them.  

I’ve gradually added planting around the walk-in run, including herbs and annuals like catmint, nasturtiums and sunflowers

In upgrading our hens’ housing I wanted to take into consideration how this new structure would look in its setting – after all, steel tubing is not the most attractive material – and I was keen for it to blend into the back garden, rather than sticking out like a sore thumb.  So I decided to incorporate a couple of small planting areas at the front, filled with herbs and flowers which would look attractive and could also be beneficial for the chickens.  Spare bricks were used to mark out two rectangular mini-beds on either side of the run door which were filled with a variety of fast-growing, bushy annuals and perennials, including nepeta (catmint), violas, nasturtium, lavender and mint. The lavender and mint can be used in the coop to fragrance and freshen the nest box and are a natural insecticide. Nasturtium leaves are said to be a natural wormer and antibiotic.  All of the planting filled out nicely over the season, decorating the front of the run without screening it so much that I couldn’t see what the hens were up to.  The addition of a bench close by completed the picture, allowing the opportunity to sit and enjoy watching my flock wander around the garden from time to time – although it’s possible they use the bench for sunbathing more than I use it for sitting!

A coop to suit all styles 

Consider the look and feel of your garden when you’re planning your hen house.  My garden has a natural woodland feel to it so the coop and run blend into the background much better now they’re surrounded by shrubs and plants.  However it’s also possible to make a feature of your coop – after all, some are made to be shown off, with beautiful paintwork or a funky design. A modern garden style lends itself to featuring more unusual structures – plastic coops in bright colours or repurposed materials.  It’s possible to recycle a child’s plastic wendy house or repaint a kennel or shed, including the essential nest boxes and perches required.  Or you might have a more traditional garden which calls for a sturdy wooden house and perhaps a ‘living roof’.  This involves planting a variety of low-growing sedums or wildflowers which will really ensure the coop looks like it’s at home in your garden.  

Protecting your plants

If you’re keen to let your hens free-range in the garden but don’t want to sacrifice your beautiful borders, you may need to take some steps to make sure they’re protected from curious beaks and those dinosaur feet, which are great for digging up insects but don’t care about the new bedding plants or young shoots that get in the way. Equally, if you like to grow your own and you’re keeping a fruit and vegetable patch in the same area as your hens this will also need some security to ensure you manage to harvest any crops before your chickens do.  They will especially enjoy raiding your veg beds for leafy greens, sweetcorn and any berries they can get their beaks on.  If you want to keep chickens away from a whole area, such as a vegetable garden, you could put up a fence made of netting or chicken wire as a barrier – but it will need to be high enough to stop them from flying over (at least 6 ft), or you can clip their wings to keep them closer to the ground.  

Chickens love to perch and jump up on any garden structures – and they don’t care what plants are growing inside!

One of the best ways to avoid damage is simply to grow plants which are tough and not particularly tasty for your hens.  Chickens do seem to know what they can eat and what they can’t.  They’ll avoid anything unpalatable and will find it difficult to destroy more resilient plants, such as varieties of bergenia, hebe, geranium, camellia, hosta or ferns – and there are many other shrubs and perennials to choose from.  It’s fairly straightforward to protect individual plants from harm – place a ready-made cloche over young specimens which are newly planted, or create a wire dome or cylinder, pegging it down to make sure it doesn’t blow over or get knocked off. An upturned wire basket would do a similar job, or netting propped up with bamboo canes.   Once good growth is established with strong roots and plenty of leaves the barrier can be removed and the plant should survive the occasional trampling.  

Wherever you choose to place the chicken coop in your garden, as long as you provide a safe and dry enclosure for your hens, with access to food and water, your hens will be happy.  Whether you allow them to free-range or keep them enclosed, your flock can be a vital part of your own little ecosystem, contributing to the sustainability of your garden and bringing life to your green space in many different ways. They rake moss out of the lawn, reduce pests, aerate the soil and fertilise it too.  Not only that but they entertain AND provide eggs on a daily basis – there isn’t another product on the market that’s so good for your garden! 

This article first appeared in Country Smallholding, June 2020

Wildflower Love ♥

This year I have set myself a casual challenge to learn to identify more wildflowers.  When I say it’s a casual challenge, it’s one that has developed in part because of my natural curiosity about plants and in part through necessity.  Garden visits have been almost impossible this spring and summer because of lockdown restrictions, so my focus has fallen to the flowers and plants around me – in the woods and hedgerows where we’ve walked more than ever, as well as further afield as restrictions have been eased and we’ve been able to go out for day trips.  

I’ve looked out for all kinds of wildflowers since they began emerging in the spring, and have watched the forest floor and the hedgerows grow and develop through into summer.  Some plants are of course common and easy to identify – wild roses, foxgloves, cowslips and primroses for example.  I love the big fat red clover flowers which are a cousin of the smaller variety popping up in my lawn.  It’s also fairly simple to spot ox-eye daisies and now at this time of year the statuesque rosebay willowherb is gradually turning its eye-poppingly pink flowers to fluffy seedheads.  

All the pinks and purples! Rosebay willowherb, red clover, field scabious, pink yarrow, foxgloves

But there are lots of flowers which I had previously disregarded or just didn’t look closely enough to really see them, and now I find myself peering into the undergrowth when I visit a new place to see if I can find anything unusual. I use my phone to take photos of whatever I find, and anything I really can’t identify I can then look up in my handy Wild Flowers book at home.  It’s a slightly old-fashioned book, with illustrations instead of photos but I’ve found it simple to identify each plant according to its kind, and I can also be slightly smug with myself about looking up an actual reference book for a change instead of relying on Google or an app!   

One of my most exciting finds this summer was a Common Spotted Orchid, discovered at the Glenfinnan Viaduct, and the infamous Himalyan Balsam which I found on the banks of the River North Esk.  It’s not uncommon, which is part of its problem – it’s an infamously invasive non-native plant but up until recently I had read about it, but never knowingly seen it.  

Common-spotted orchid, Himalayan balsam

Closer to home, I was also gifted a Seedball to trial earlier in the year, so I’ve used it to help develop a wildflower section in one of my raised beds.  I’ve documented the sowing and growing on my Instagram feed, and there’s a video in my Highlights showing just how easy these are – you just scatter the little clay balls in spring around the area where you want to grow your wildflowers and they will naturally break down and germinate in time to flower for the summer.  I’ve also been growing Ragged Robin from seed, a wildflower which loves damp soil around ponds, so a little group of these is now in a pot next to my tin bath pond. I would love to introduce more wildflowers to my garden – they’re tough but pretty in a natural, uncultivated way, and loved by all kinds of insects.  

Corn Marigolds popping up where I scattered my tin of Seedballs

So it’s been a mini journey of discovery for me so far this year.  I’ve really enjoyed spotting and identifying the plants I’ve seen every day but couldn’t name, such as lady’s bedstraw, field scabious, self-heal, eyebright and also looking out for the best and most beautiful specimens of some old favourites, like harebells, foxgloves and meadow cranesbill.  Try it yourself – take a closer look and use a book or an app to figure out what you’ve found.  The plants which grow in our home environment are so important for biodiversity, supporting pollinators, providing a healthy eco-system and help us to notice the change in seasons as early dots of colour give way to blousy, overblown hedgerows.   It’s useful and enjoyable to know what’s growing just outside your garden walls. 

Harebells and self-heal at the River North Esk
Meadow cranesbill, evening primrose, wild thyme, cornflower, rest-harrow (I think!), yarrow at Elie, Fife
Wild rose, in the woods behind my home

Quadgrow trial – part 1

Let’s talk tomatoes.  At the beginning of this year’s growing season I was lucky enough to be sent a Quadgrow planter, after spotting them at this year’s Garden Press Event in London (back when we are able to travel freely around the country – remember those days?!). 

The Quadgrow display at the Garden Press Event, March 2020

I was really impressed with the set up on display – they had a selection of chilis growing in these, as it was March and still early in the season, but they’re also suitable for tomatoes, peppers, cucumbers and other tall cropping plants.  The really big deep pots are placed into a large tray which you fill with water, making it a self-watering system which keeps your plants from drying out for up to 2 weeks.  This makes it incredibly useful during the summer when a) the weather is hopefully nice and warm, making your greenhouse very cosy and b) you might (under non-Covid circumstances) be planning to go on holiday.  With the Quadgrow you simply fill up the tray and can leave your plants for a few days, knowing they won’t be crispy when you come home again! 

After speaking to the guys from Greenhouse Sensation at the GPE they got in touch and asked if I’d like to trial the planter and I jumped at the chance.  Growing tomatoes is one of my favourite things to do in the garden – I love the whole process, from sowing the seed right through to harvesting those ripe red fruits, and as I’m always interested to try new varieties and techniques I thought this would be an excellent system to use this year, in pursuit of the perfect tomato! 

The package came safely in the post, complete with two trays, four pots and some plant food and I set up the system in mid-May when my tomato plants were getting big enough to plant out and live in the greenhouse.  Bearing in mind that I’m not particulary handy or technically-minded it was easy to set up and I had the thing slotted together in minutes.  You simply have to connect the trays with a little pipe and also insert the filters and make sure the wicking material is in place within each pot.  This is how the system keeps the soil moist so it’s important to make sure the wicking material is in contact with the water.  I actually left a little corner of it visible above the soil so that I can check it’s still damp – that way I know the soil is still getting the moisture it needs.  Once the pots were filled up with some peat-free tomato compost I popped in each plant, inserted a bamboo support and tied them into place as I usually do.  

In the interests of not-very-scientific experimentation I’m also growing the same varieties of tomato in the same peat free compost but in growbags and pots.  I’m looking forward to seeing how each method compares, and whether I have healthier plants, or better fruit, from those grown in bags, pots or the Quadgrow.  There will have to be a lot of tasting to find out… 😋

And if you’re wondering what varitieties I’m growing, I’ve got: Gardener’s Delight, Sungold, Rosella and Black Russian.  I’m also growing one plant called Maskotka outdoors – another experiment to see if it’s possible to get a decent crop of tomatoes outdoors in Scotland.  I have my doubts, but actually this plant seems to be doing fine – although a bit more compact than the others it’s setting fruit and looking fairly healthy! 

So far, I’ve topped up the Quadgrow with water about three times and it hasn’t yet been empty when I’ve checked.  The plants are definitely more thirsty the bigger they’ve got so I’m keeping a close eye on the water level each time I’m doing a #Fridayfeed.  

You can check out photos and videos of the Quadgrow on my Instagram feed @mycornerofearth – there’s a series saved to my Stories including the set-up video and I’m including regular updates as the plants develop.  I’ll report back more progress here on this blog as my plants grow and hopefully give me some tasty tomatoes!

My tomato plants are flourishing so far in their Quadgrow planter!

A good year for the roses?

Roses are the quintessential country garden plant – they’re a symbol of royalty and romance, celebrated in art, and even flavour our food. For some, they’re an essential element of a good garden, while others find them old-fashioned or fussy. It’s true that some roses can demand a little extra care, but there are so many varieties today that it’s easy to find a rose which suits your garden and, more importantly, your style of gardening, whether it’s hands-on or low-maintenance. If you’re caring for an existing rose, or want to introduce new plants to your garden, now is an excellent time to lay the groundwork for healthy, happy plants which will reward you with some beautiful blooms later in the year.

Every rose has its thorn…

‘New Dawn’

Pruning roses is an important winter task and best done before March, when they will be waking from their dormant state and coming into growth again. Cutting back older, established plants is almost essential for roses, to avoid leggy growth, prevent disease and maintain a good shape. The first thing to do, if you can, is to identify what kind of rose you have in order to make sure you’re following the correct advice for your particular plant. If you’re unsure follow these general rules to reinvigorate the plant and keep it healthy: using secateurs, cut the branches back by one to two thirds and trim off dead or damaged stems, any which are crossing/rubbing as well as any leaves showing signs of blackspot, taking care to remove these from the site completely so as not to re-infect the new growth. The best way to prune is to cut back to just above a new leaf bud (small nodule on the stem).

Bush roses: these include floribunda types and hybrid teas, such as ‘Lady Marmalade’ and ‘Mary Berry’. They flower on new growth each year so can be pruned back hard to encourage fresh new shoots which should also eventually bear flowers. Don’t be afraid to cut right down almost to ground level – these roses respond well to a good cut back and it’s highly unlikely you’ll kill the plant.

Modern shrub/English roses : these are usually larger, repeat flowering, scented roses, including ‘Gertrude Jekyll’ and ‘Sceptr’d Isle’. They need to maintain a more natural framework of stems but it’s still worth wielding the secateurs to remove any dead or damaged stems, cutting back older, woody branches and pruning side stems down to two or three buds.

Climbing roses: such as ‘New Dawn’ or ‘Mme Alfred Carriere’ are tall and vigorous, and need tying in to ensure they don’t end up in a tangled mess. As with other types, remove dead or damaged stems, cutting out any very old branches or any which are rubbing, as this can create a wound and therefore an entry point for disease. Make sure your main framework is tied into its support, then add in any new side shoots, and trim flowering shoots back by two-thirds of their length.

Rambling roses: eg ‘Rambling Rector’, ‘Paul’s Himalayan Musk’ are similar to climbers but usually only flower once in the growing season. They can be pruned similar to climbing roses too by making sure they have a framework of branches fanned out and tied into supports. One in three of the oldest branches can be cut out and side shoots trimmed back by about two-thirds.

Once you’ve got your roses back into shape, they’ll also benefit from a feed of general purpose or fertiliser, sprinkled around the soil at the base of the plant and then covered with a layer of well-rotted manure or compost – this should ensure they’re off to a good start for the new growing season.

‘Ispahan’ – Damask Rose

I never promised you a rose garden…

Gone are the days when having roses in your garden meant a square of bare earth with half a dozen rose bushes displaying only thorny branches for half of the year. Modern planting design encourages combining the roses which best suit your style of garden with other shrubs and perennials in a mixed border. The cottage garden is possibly the best example of this and wouldn’t be complete without a few romantic roses in amongst pretty poppies, airy cosmos and tall spikes of delphiniums and foxgloves. They blend beautifully with the lush and lax style of other cottage garden plants, taking a back seat in the spring when bulbs and other early flowers appear, then centre stage from midsummer until autumn, when regular deadheading will ensure repeat flowering roses are the stars of the border.

Not only that but there’s a colour to suit every palette. Red roses such as the velvety ‘Deep Secret’ are, of course, the classic choice, but pinks are often easier to combine in a mixed bed, with every shade available from bright cerise through to soft blush. ‘Gabriel Oak’ is a brand new rose from renowned breeder David Austin in a shade of deep pink, with a full, rosette style flower and a strong, fruity scent. Climber ‘New Dawn’ on the other hand, is a pale pink, with a classic petal shape and sweet fragrance, and blooms reliably from summer until late autumn.

‘Lady Marmalade’

If you don’t want to go down the ‘obvious’ red or pink route, there’s also a multitude of white and cream roses to choose from, including the top performer ‘Iceberg’, with open, single flowers which are good for pollinators, and the pretty ‘Mary Berry’, a hybrid tea with a traditional shape and beautiful scent. Yellow and orange flowers are not to everyone’s taste and can be trickier to include in a mixed border – but combined well they can also make an impact, providing a hit of colour or a bright contrast to darker shades of purple or green. To test your tolerance of yellow shades try ‘Tottering-By-Gently’ which was introduced at 2018’s Chelsea Flower Show and is a soft yellow shrub rose, with simple, open flowers which would pair beautifully with purple lavender or zingy orange heleniums. In my own border I have the brick-red ‘Hot Chocolate’ next to the orange geum ‘Totally Tangerine’ and deep purple salvia ‘Amistad’ – the colours are unusual but tone well and provide a dramatic contrast to the soft pastels elsewhere in the garden.

Kiss from a rose…

Get roses right and they will reward you. With just a little care and attention they really can be the showstoppers of the garden. To keep your blooms in tip-top condition during the growing season feed, weed and deadhead. As well as mulching and fertilising in the early spring, give your plants a second feed after the first flush of flowers to keep them healthy. Weed around the base regularly (avoiding any spiky thorns!) and cut off faded blooms, which for most floribunda and repeat flowering types, will ensure more flowers will follow. Although established roses don’t need regular watering, a watering can full once a week is beneficial during especially hot and dry spells, although if your rose is in a container, it will need watered and fed more frequently throughout the season.

And finally keep an eye out for greenfly, which will love your roses almost as much as you. There are various chemical sprays on the market to get rid of greenfly but the safer and healthier (and lazier!) approach is simply to sit back and wait. A good garden ecosystem usually balances itself and with aphids come ladybirds. These natural predators will take care of the pests within a short space of time – however, if your infestation is particularly bad you can spray the stems with soapy water, blast them with the hose, or put on your garden gloves and rub them off between your finger and thumb.


Plant a bare-root rose

Bare-root roses are available during the winter and up to the end of March, and they’re often the best way to introduce a new plant to your garden. Bare-root simply means they’re sold without a container, with the roots exposed. Although they might not look as attractive as a potted plant, bare-root specimens are cheaper and usually establish better as they have plenty of time to develop a strong and healthy root system before energy is diverted into flowering during the summer months.

To plant a bare-root rose:

  • Rehydrate the plant by placing in a bucket of water for at least 30 minutes before planting
  • Choose a sunny, well-drained position and dig a hole approximately 40cm wide and 60cm deep
  • Add well-rotted manure to the base of the planting hole
  • Place the rose in the hole, spreading out the roots and ensuring the graft union (swollen area between roots and stems) is just below the surface of the soil
  • Fill in the hole with soil and firm in with your foot
  • Water well after planting

This article was published in Platinum magazine’s March 2020 issue

The highs and lows of henkeeping

Minnie

Keeping hens in your back garden is a glimpse into the good life, a step, albeit small, towards self-sufficiency. They might only provide your lunch and some ingredients for your next cake, but owning chickens allows one a slightly superior air in conversation. “Oh I never buy eggs any more, our girls provide them for us!” you’ll say with a smug look. What you won’t mention, when you’re chatting over the garden fence or standing at the school gate, is all the times you’ve mucked out a coop in the drizzling rain, dropping straw and chicken poo into your wellies, or how they pecked the living daylights out of your new bedding plants, or that time one of them successfully caught – and ate – a mouse in front of your horrified children.

And yet, those feathery little females quickly charm their way into your affections. With their sharp senses and inquisitive nature they’re not as flappy and feather-brained as they might seem at first. Chickens are intelligent, funny and great garden companions. We have three hybrid hens – a mixture of breeds which make reliable layers – and they have certainly done their duty, supplying us with a few hundred eggs between them so far. Not only that, but they regularly provide entertainment and some actual LOLs when we watch their antics in the back garden. One of their textbook moves is to amble casually out of the run when they’re allowed out to free range, then suddenly all three make a frantic, feathery dash to the bird table, racing each other to hoover up any scraps left behind by the garden birds. Or piling on top of each other for a major dustbathing session, rolling and scraping up the dry soil into a massive mushroom cloud of hen happiness. The three of them have created such a large bowl under one of my conifers it’s like they’re trying to dig for Australia.

We’ve got to know our three chooks well over the past three years – each one has a distinct personality. Our speckled hen, Polly, is the boss and makes her presence felt – literally – when there’s a tasty treat on offer, regularly dismissing the other two with a sharp peck. She won’t think twice about stealing a juicy grape straight out of another hen’s beak and gets first dibs on any bowls of porridge supplied on a chilly morning. Iona is probably next in the pecking order and is vain, probably because she’s the prettiest. She’s the first to dive into a dust bath and will spend ages preening her creamy leg feathers, which are so wide and frilly they remind me of French bloomers. Minnie is the most timid but also the sweetest. She’s the last one out of the coop on a snowy day, completely freaked out by all the cold, white stuff on the ground. But if you can catch her she’s content to sit in your arms for a few minutes so you can stroke her back and admire the gorgeous beetle-green sheen on her black feathers.

Polly and Iona in their favourite dust bath

It’s true to say that life with chickens is not all yummy eggs and fluffy feathers – hens can be noisy when they’re alarmed, laying, or just protesting about being cooped up for too long. They can produce some very strange eggs in the beginning and, yes, there’s quite a lot of poo. I won’t even mention the prolapsed oviduct (I would advise you not to google it) which forced me to spend part of a family BBQ at the business end of a rather unhappy hen. But they’re also relaxing to watch, friendly, and their eggs really are better than shop-bought ones. Clearly something about our trio has persuaded me that back garden henkeeping is worthwhile, because I’ve just bought a second coop, a small incubator and 6 fertile eggs..!

Apollo and Rocky – the result of the aforementioned hatch!

This article was first published in Garden Answers, June 2019

Cosmos – out of this world!

No garden should be without cosmos and its heavenly flowers. After a bit of a slow start with these brightly-coloured blooms, I’ve become a convert, and now I sow them from seed every year to ensure I’ve got plenty of these cheery favourites to brighten up my borders.

Cosmos bipinnatus are half-hardy annuals, which means, like bedding plants, they will grow and flower within one season, and can then be composted when they’re spent in the autumn. Their large, daisy-like flowers are most often seen in shades of pink or pure white, but they can also be found in ‘hot’ red and orange – there’s even a relatively new yellow variety. They are very easy to grow and you can easily buy them as young plants – but you’ll get much more for your money if you sow them from seed any time between March and May. Simply sprinkle onto a tray of moist compost and cover lightly. They’ll benefit from bottom heat, but will also germinate fairly readily if covered with a plastic bag or clear lid and left in a greenhouse or sunny windowsill.

Once their second pair of leaves is showing (the ‘true’ leaves) they can be pricked out into bigger pots and grown on until they’re ready to plant out after the last frosts. Pinching them out (removing the growing tip) makes for bigger and bushier plants with more flowers so this is well worth doing at this point or when they’re about a foot or so tall. Once they’re in the ground and flowering it’s a good idea to deadhead them regularly as removing the spent flowers makes room for more to bloom – and bloom they will! These generous plants will flower non-stop from midsummer until the first frosts, perhaps even later. With last year’s mild autumn, it took a real dip in the temperatures to kill off my cosmos, so I was able to enjoy them well into November.

There’s quite a wide variety of cosmos to choose from, but all are reliable performers so choosing is simply a matter of taste. For a pure hit of colour you can’t go wrong with ‘Sensation’ – a mix of light and dark pinks with some white flowers and well worth growing. There’s also ‘Dazzler’ with large deep red flowers, or ‘Versailles Tetra’, which are slate-pink with a red centre surrounding the bright yellow eye of the bloom. Last year I was quite taken with ‘Daydream’, which is a bit more delicate looking – very pale pink, deepening in colour towards the centre of each petal. However my firm favourite is ‘Purity’, These are quite a tall variety, so best towards the back of a border, with large, brilliant white flowers. They look fantastic with other cottage-garden style plants or in a vase, providing light and texture with their feathery foliage and stunning white blooms.

Cosmos ‘Purity’ in a mixed border

Cosmos aren’t just for the garden – dwarf varieties are great in pots – try ‘Sonata’ or ‘Apollo’, which are more compact and will suit container planting. For something a bit different, go for ‘Xanthos’ which flowers prolifically and is the first yellow cosmos in a really pretty, soft shade. There are other more unusual varieties of cosmos which come in all shapes and sizes – ‘Cupcake’ is so-called because its fused and upturned petals look, well, like a cupcake! Or there’s ‘Sea Shells’, which has tubular petals, and ‘Double Click’, with a lovely ruffled, fully double flower, in a range of colours from cranberry through to rose.

Cosmos ‘Xanthe’ (left) with chocolate cosmos in the planter with Stipa tenuissima

Cosmos are easy to grow, flower for ages and are great for filling gaps in borders, or as a temporary fix for an empty flower bed – they can even be planted alongside vegetables, to help bring in those useful pollinators, and they’re a stalwart of the cut flower patch too. They’re great dotted around the garden or in a vast swathe of airy, feathery foliage dotted with those brilliant blooms. Cosmos are cosmic for every garden – so get growing!

Chocolate cosmos
Chocolate cosmos is another member of the cosmos family, but not exactly like the others. Why is it called chocolate cosmos? Well, partly because of its rich, dark, red/brown colouring but also because of its scent – if you get up close to the flower you’ll smell its wonderful vanilla-chocolate aroma. Also known as Cosmos astrosanguineus, this plant is perennial, and if you look after its slim tubers (by lifting or covering during the winter) then it will return year after year. It’s not as common as its bright and beautiful cousins, but it’s got a velvety, sultry charm which is hard to resist. These are most often bought as young plants, as seeds are hard to come by and can be tricky to germinate. Chocolate cosmos are much smaller than Cosmos bipinnnatus, with loose, slender stems. I plant mine in a large container with grasses to give some contrast and also to help support the flowers…after all, I want them as close to my nose as possible for that fantastic hit of chocolate!

This article was originally published in The Courier’s Beautiful Homes supplement, Spring 2019

Get Into Grow Your Own

“Nothing tastes as good as home-grown!” – a familiar cry from allotment owners and keen gardeners everywhere. But is it true? And are you ready to find out for yourself?

Why?
There are many reasons why growing your own is a good thing to do – both for yourself, and for the environment. When you grow your own food, you know exactly where it’s come from: your own soil, pesticide-free and freshly picked. Often, the produce we buy from the supermarket shelves is already several days or even weeks old and may have been treated with preservatives to prevent them from spoiling. Carrots, for example, are typically stored for anything from 1 to 9 months before being sold in the shops; in contrast, you can pick a carrot from your garden and have it cooked and on your plate within minutes – guaranteed freshness which also means fantastic flavour.

And the total food miles? Zero! At a time when the climate emergency is on everyone’s lips, reducing the amount of carbon emitted by food transportation is another way we can contribute to the fight against global warming. Not to mention that growing your own food completely bypasses the plastic packaging involved in unnecessarily wrapping fresh produce. But perhaps one of the best reasons to get into ‘grow your own’ is because it’s really enjoyable! It’s incredibly satisfying to sow some seed, watch the shoots germinate and grow and eventually harvest some delicious food to feed yourself and others.

Courgette seedlings

Where?
You don’t need a huge garden or allotment plot to begin growing fruit and vegetables – any outdoor space can be adapted for growing. Garden beds are useful, but if space is limited you can grow in pots, window boxes or growbags. If you are fortunate enough to have some room in the garden, or even an entire allotment plot, you can sow straight into the ground or create raised beds, which can be constructed from various materials, and can offer easier access to the soil and plants. In terms of tools, a basic but useful set would include: a spade and/or fork, a rake, a trowel and a watering can or hose.

Your growing area should be prepared during autumn to late winter, so that the ground is ready for planting in spring when the soil warms up. This is the time of year to begin sowing – a wide range of vegetables can be started from seed either indoors on a sunny windowsill or under glass in a greenhouse or cold frame; these will be planted out into your veg beds once they’ve established a good root system and after the last frosts (generally around mid-late May for Scotland).

What?
You’ve got the space and the tools – now what to grow? The best place to start is to think about what you like to eat, and grow that. Love potatoes? They’re quick and easy, and even better fresh from the plot. Can’t stand carrots? Then don’t bother – they have a relatively long growing season, so put your efforts into something you prefer. Figure out how much space you’ve got, and choose the crop to suit. Peas and beans grow vertically, so don’t take up much room; potatoes, on the other hand, are large and leafy and need to be spaced around a foot apart. Smaller, fast-growing salad veg such as lettuce, radish, beetroot and spring onion can often be planted among those which take longer to harvest, maximising your growing space.
Tomatoes require some extra effort, but are well worth it – there is nothing to compare with the flavour of a fresh, homegrown tomato. These usually need to be grown in a greenhouse, with careful watering – but there are some outdoor varieties which may withstand the variable weather of a Scottish summer. Other greenhouse (or warm conservatory) options include chillis, peppers, cucumber and aubergines.

The other addition to your plot should be some flowers – these are important for attracting beneficial insects and repelling pests. Pollinators will visit for bright blooms such as cosmos, calendula or nasturtium, while marigolds are said to be effective at repelling aphids.

How?
To find out more information on growing your own you don’t have to look far – there is a plethora of books on the subject, along with websites, apps, magazines and podcasts. Charles Dowding is the creator of the ‘no-dig’ movement and a master of grow your own – his books and website are a great place to start. If you’re short of space, try Huw Richard’s book ‘Veg in One Bed’ for a very simple guide to growing as much as possible in a small area. The book ‘Fruit and Vegetables for Scotland’ by Ken Cox and Caroline Beaton is especially useful for identifying the best varieties for Scottish gardeners.

If Instagram is your thing use the hashtag #GYO or #growyourown to find a community of like-minded gardeners and allotment holders who love to share photos and advice. There are also plenty of podcasts covering food growing and related topics – such as The Organic Gardening Podcast or The Dirt, which is produced by Grow Your Own magazine, another excellent source of information and advice – plus each issue comes with free seeds!

If you’re thinking now’s the time to try growing some food – just go for it. You’ve nothing to lose but the price of a packet of seeds – and you might gain a new passion, better health, more time outdoors and some really tasty fruit and veg!

This article appeared in the Weekend supplement of The Courier, 11th April 2020

Garden Goodies @ GPE 2020

Last week I attended the Garden Press Event in London for the first time – this is an event organised to allow the horticulture industry to come together so that journalists can view the latest products, find out about new campaigns and generally share information and news. It was a whistlestop tour of all the big names in the industry, plus lots of smaller and emerging businesses with new and interesting products to bring to the market. Not to mention initiatives like National Children’s Gardening Week and Garden Day which aim to raise the profile of gardening generally.

There were a few items which particularly caught my attention, so here’s my list of Top 5 Garden Goodies from the GPE 2020:

  • Nemaknights – I had spotted this advertised in a magazine and then promptly forgot what it was called, so I was delighted to find NemaKnights had a stall, and quizzed them on this potentially transformative product! Essentially it’s nematodes in granular form which you can shake onto the soil as and when you need it. It’s a biological pest control which is child, pet and wildlife friendly and targets slugs and snails, although it’s also available for vine weevils, ants and sciarid flies. If you’ve used nematodes before you’ll know that up until now they’ve been a bit fiddly to use – with a short shelf life, they’re kept in the fridge then you’ve got to add water, mix and water into your soil. Nemaknights seems to eliminate the fuss, making it much easier to use a pesticide-free solution to an age-old problem. I’m looking forward to trying this as we do have many slugs in our garden – I’d also be keen to use it for fungus gnats because this is the time of year they tend to reappear, when my windowsills are full of germinating seed trays!

Quadgrow – another product I was very taken by was the Quadgrow by Greenhouse Sensation. This is a self-watering planter, ideal for crops such as tomatoes, peppers, aubergines or courgettes, and can be used in the greenhouse, polytunnel or on a patio. It promises to keep plants at just the right moisture level for around 14 days using a wicking system, resulting in 2x bigger harvests compared to grow bags or pots. I can see this working well for my tomatoes – or possibly the aubergines and courgettes which are currently only seedlings… so watch this space!

Claire Austin’s Book of Perennials – it was great to speak to Claire Austin herself who was there to promote her newly revised Book of Perennials. I had read about her most recent venture The Sarn in February’s Gardens Illustrated and loved the idea of opening a pub with a plant nursery out the back! Beer and plants – what more could you want?! And I was lucky enough to take away a copy of the book, which I am certain will fuel my daydream of one day owning my own independent nursery. The book was first published in 2015 and has been revised to include 180 new varieties with extended features on peonies and irises. It’s full of advice on choosing and caring for perennials, and how to plant them together. Plus there are 700 plants listed – a perennial lovers paradise.

Honeyfield’s – this is a company producing wild bird food and associated feeders, nest boxes etc. The brand is owned by Marriages, which makes pet food and animal feed, and is now an authority on environmentally friendly wild bird care. Honeyfield’s stands apart from other suppliers in its approach to sourcing seed and sustainability – it’s the first supplier of Fair to Nature bird seed in the UK, which means it’s commited to using cereals and other feeds from farms which grow crops to sustain farmland bird species. So Honeyfield’s not only feeds garden birds, but also looks after those in the countryside too. Not only that, but their packaging is recyclable and they encourage consumer to use a refillable ‘Tub for Life’ for zero-waste shopping. I’ll be popping one of their Easy Clean Seed Feeders out into the garden shortly and I’m certain the local birds are going to love it! Check out Honeyfield’s excellent range of feeding guides here and their brilliant Bird Bites videos, which cover a host of different wild bird care topics.

Activearth – I was very intrigued by this new product, which claims to supercharge your soil. As the owner of some under-performing raised beds, I’m currently on the hunt for ideas to help increase the nutrient levels of my soil and improve the health of the plants I grow in them. Activearth is an organic pellet which provides the soil with 4 essential minerals (Magnesium, Calcium, Hydrogen and Potassium) plus beneficial soil bacteria, to improve fertility and plant growth in a slow release format. Scattered over the growing area, Activearth promises to transform the soil ‘from compacted and dormant to biologically active and nutrient-rich’. This, I like the sound of. So I will try the small sample I’ve got and see if there are any significant improvements – it sounds like a magic formula, and it smells like biscuits! Is it too good to be true? I hope to find out and report back…