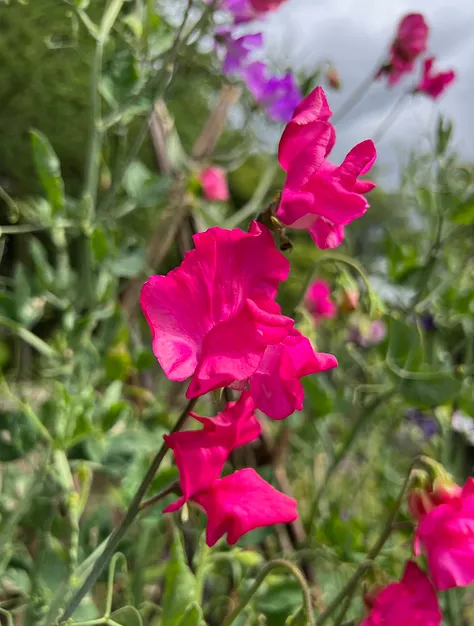
Sweet peas were one of the first plants I grew from seed – or, now that I think about it, from seedlings. It was quite a long time ago when my children were still small, and I felt the urge to grow something in our little garden. It needed to be easy and rewarding and I remember picking up some small sweet pea plants in cardboard pots from somewhere – probably a local garden centre.
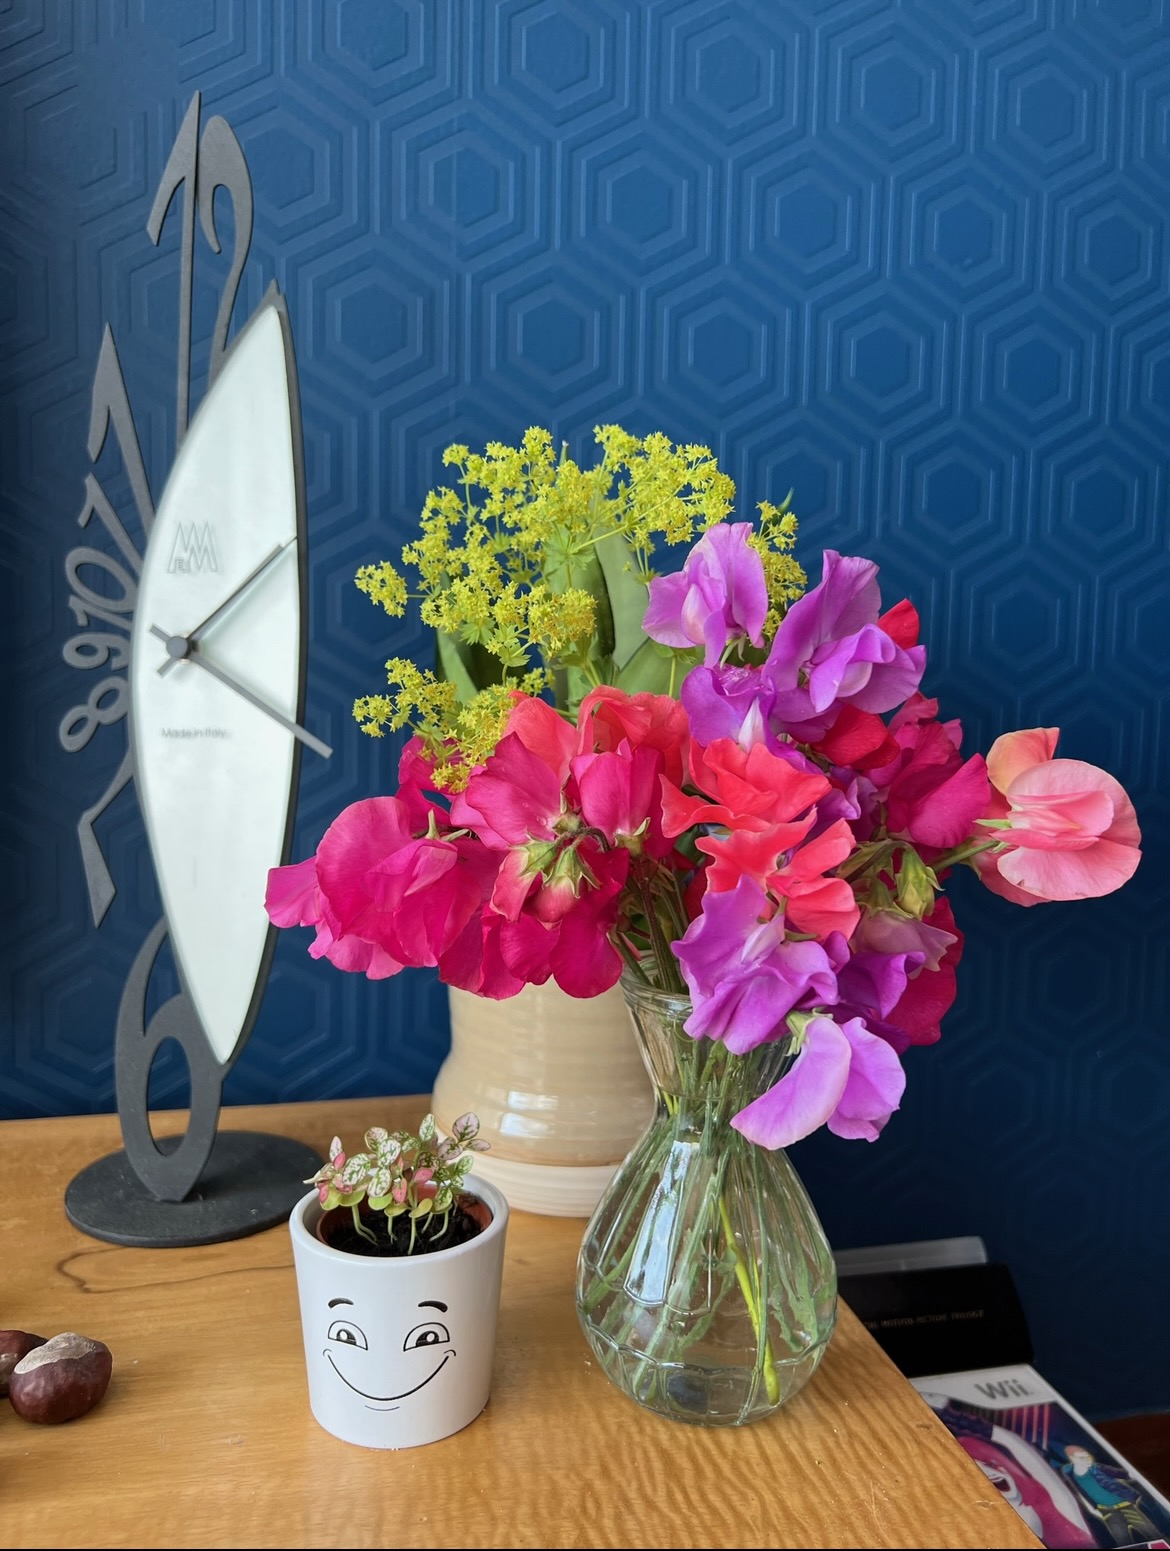
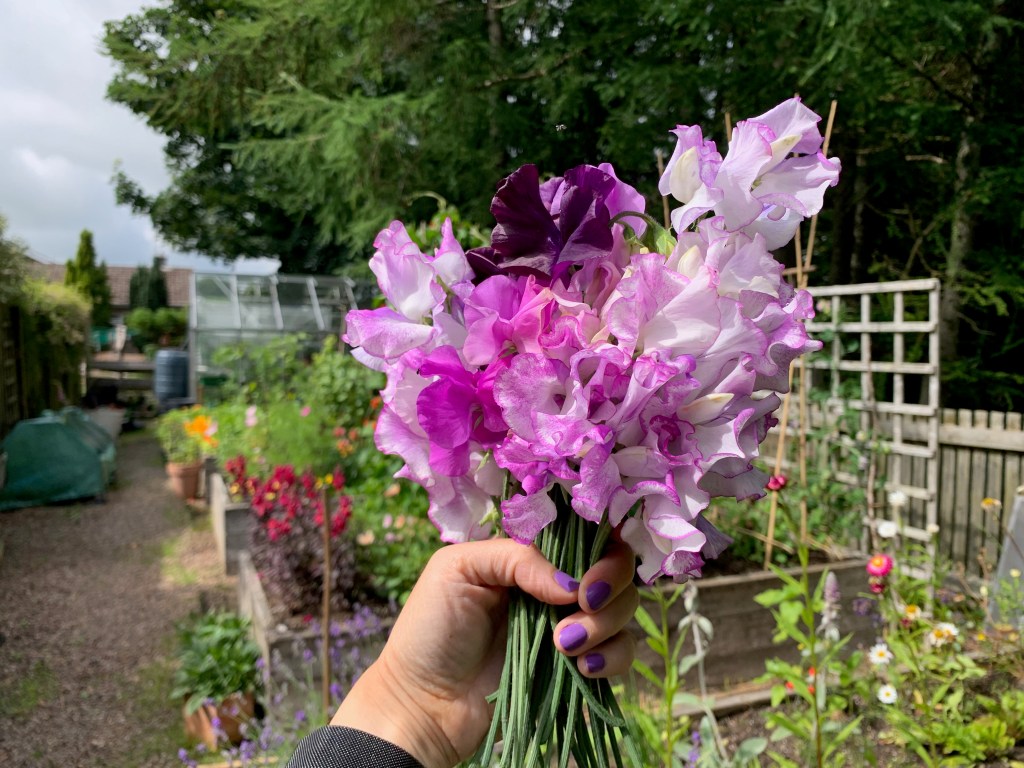
They succeeded, and the love of growing was awakened from deep within, although at the time I had two youngsters and a job and not very much time to do anything about it. Fast forward a few years later and sweet peas are still one of the stalwarts of my garden. I sow some in late autumn/winter and usually some in the spring too, aiming to have at least two or three large frames with a variety of colours and scents, and a steady supply of flowers to pick and bring inside for the vase.
As far as I’m concerned these are fair game to sow at any point between now and spring. I sometimes even make a point of sowing on New Year’s Day – a welcome break from the festivities to mark the turning of the year and the beginning of a new growing season.
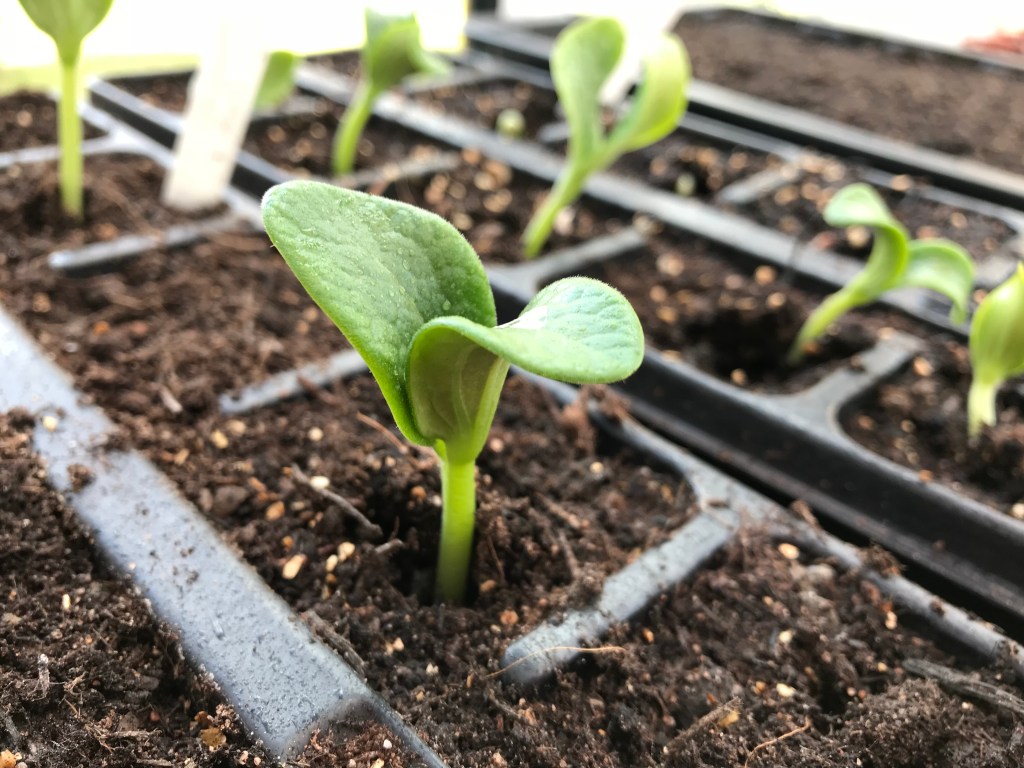
Autumn/winter sown sweet peas are generally stronger and flower earlier than spring-sown, but you do have to have a bit of space somewhere to raise them and overwinter them. This year I’m germinating mine on a windowsill in a small north-facing sunroom at the back of the house, and will then move them to the greenhouse where they can grow on, slowly and steadily, until spring when they can be planted out surprisingly early – sweet peas are hardier than they look.
Sowing
Some people soak sweet pea seeds first but I’ve never done this and my seeds usually germinate very reliably. I use a mix of general purpose peat-free compost with a couple of handfuls of horticultural grit and perlite. For pots, I either sow one seed each into rootrainer modules (like these from Sarah Raven) or three seeds into regular square 9cm pots.
The benefit of the rootrainers is that they are nice and deep, giving the roots lots of space to develop, running up and down the grooves inside each module. And once the seedlings are big enough to be planted out there’s very little root disturbance as you can just pull apart each module and plant out the whole seedling, roots and compost and all.
Although not quite as deep as rootrainers, 9cm pots also do a good job, they save a little bit of space and compost as you can sow three seeds into each one, and you can opt to pop the three seedlings from container to ground as well, no need to pull apart each plant.
Pinching out
This needs done when the seedlings have put on some good growth, which is likely to have happened by spring. When the plant has three or four pairs of leaves, either snip or squeeze off the top of the main stem, leaving one or two pairs of leaves. This means side shoots will develop, leading to bushier plants and more flowers.
Planting out
This will depend on the spring weather! For me, in Scotland, I choose an opportunity in April or May when the weather is reasonable and there’s no imminent heavy frost or cold snap. This wouldn’t necessarily kill them off, but would certainly check their growth, so ideally I’ll try to wait until I’m fairly sure the weather will be settled to let them get established. If it’s very mild it’s possible (but perhaps more risky) to plant out in March. As I said above, sweet peas are tougher than they seem and although a touch of frost may nip the youngest leaves, it shouldn’t do more harm than naturally pinching out the top growth.
Support
Sweet peas need support, and when they’re first planted out they may need tied in or at least pointed in the right direction – as they grow they’ll develop little twining tendrils which will keep them attached to the structure you provide (or to nearby plants!) So check on them regularly and tie them in with soft wool or jute twine to ensure they’re growing against the structure, otherwise the weight of the stems or a stiff wind could bend them over and damage the plants.
I used to craft a V-shaped structure out of bamboo canes and twine – until summer 2022 when most of the twine was stolen by nesting squirrels, leading to major structural integrity issues! Last year I bought a couple of these willow obelisks from Wilko and they’re fab – they look natural and are really easy to pop up and place wherever you want them in your garden. I put them onto the surface of the raised beds where I grow most of my cut flowers, but they’d blend in really well in a mixed border too.
Varieties
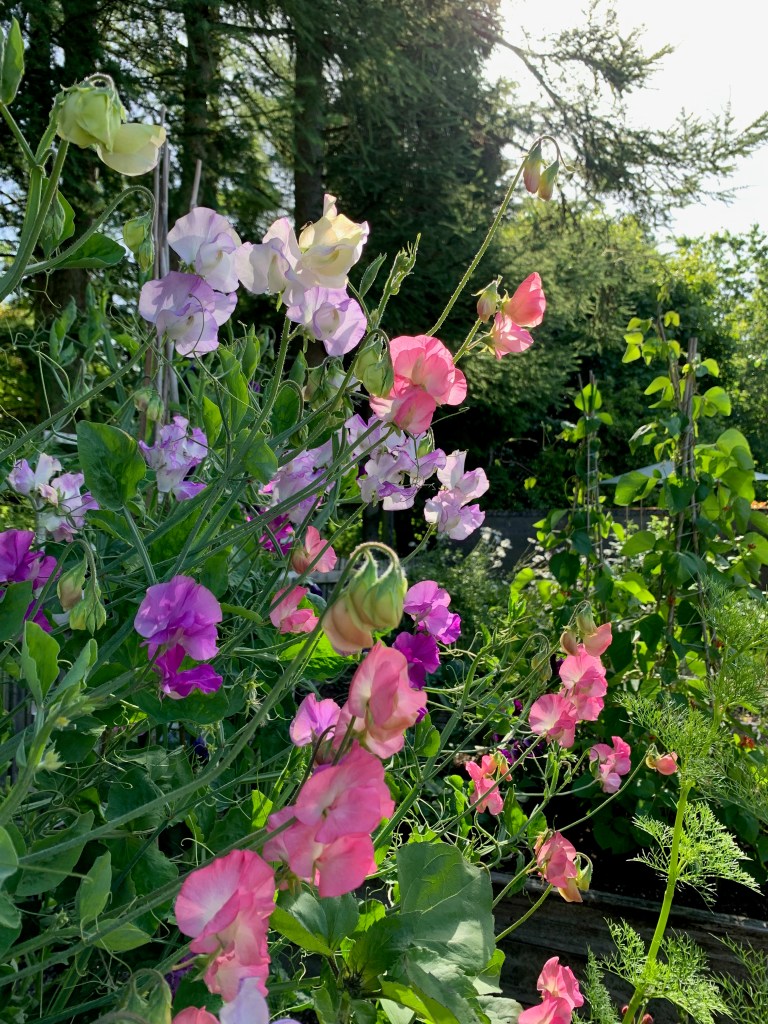
When it comes to what kind of sweet peas to grow, that’s entirely up to you and there’s a plethora of colours, sizes and scents to choose from. There are different groups of sweet peas, so you can choose broadly depending on what you’re looking for:
Grandiflora – as the name suggests, have large flowers and a good scent
Spencer – bred to be frilly and brightly coloured, good for showing
Species/heirloom – these have smaller blooms and simpler colours and a really strong scent
There are also dwarf varieties – these are compact and good for containers.
NB – there’s also an everlasting sweet pea – this is a perennial variety, so it comes back year after year, but it doesn’t have any scent so if that’s important to you then make sure you go for the annual types!
Recommendations
I’ve grown a lot of different varieties – I usually mix it up year to year, going for colours that I’m drawn to, or names that are meaningful – or simply sowing whatever packet I happened to have received as a gift or special offer!
These are some of the sweet peas I’ve enjoyed most in recent years and would be happy to grow again: Jimmy Shand, Cupani, Judith Wilkinson, Cream Egg, Erewhon. I also usually grow a packet of heritage mix, which reliably provides a variety of colours and good scent.