
Owning a flock of hens doesn’t have to mean bare lawns and patchy plants. Your chicken coop can be an eye-catching feature, or blend into the background – and you don’t have to sacrifice your lawn for your feathered friends either. Let’s have a look at how to keep chickens in the garden without compromising the look and feel of your outside space.

Many of us keep hens in the garden, perhaps because they are family pets, special breeds or simply because they entertain us and it’s good to watch them potter about while we enjoy a cup of tea. Some people believe that hens and gardens don’t mix – that the birds will destroy precious plants and the coop will be an ugly addition to your beautiful borders. But for those of us keeping a small backyard flock for pleasure (or a small profit) it doesn’t have to be that way. There are plenty of plants which can co-exist with chickens, and whether your hen house is a thing of beauty or a simple structure, it’s worth thinking about how it fits into your outside space, and perhaps making a few tweaks so that it earns its place in your garden and your daily field of vision.
Building your coop into the garden
The main things to consider when siting your coop in the garden are, of course, security, safety and the wellbeing of your hens. Fox-proofing and sturdy locks are essential to keep predators out. Ideally the run should get a decent amount of sunlight as well as providing areas of shade during hot weather. Existing trees and shrubs can be useful for this, as well as providing the perfect dustbathing area underneath where there is nice dry soil at the roots. So rather than plonking your run on the grass, which will disappear within days and turn to a mud-bath if not moved regularly, why not incorporate it into your borders? This is what we did when we acquired our first three hens. There was a suitable gap in the planting which allowed us to fit in a coop (green Eglu Go) and small wire run, surrounded by netting. The idea was to allow our new little flock to roam within the netting and keep them out of the garden as a whole. Fast forward four years and, of course, we’ve expanded. The same coop is now inside a much larger aluminium run, providing more security when the family is out during the day, and allowing them the freedom of the whole garden when we’re around to keep an eye on them.

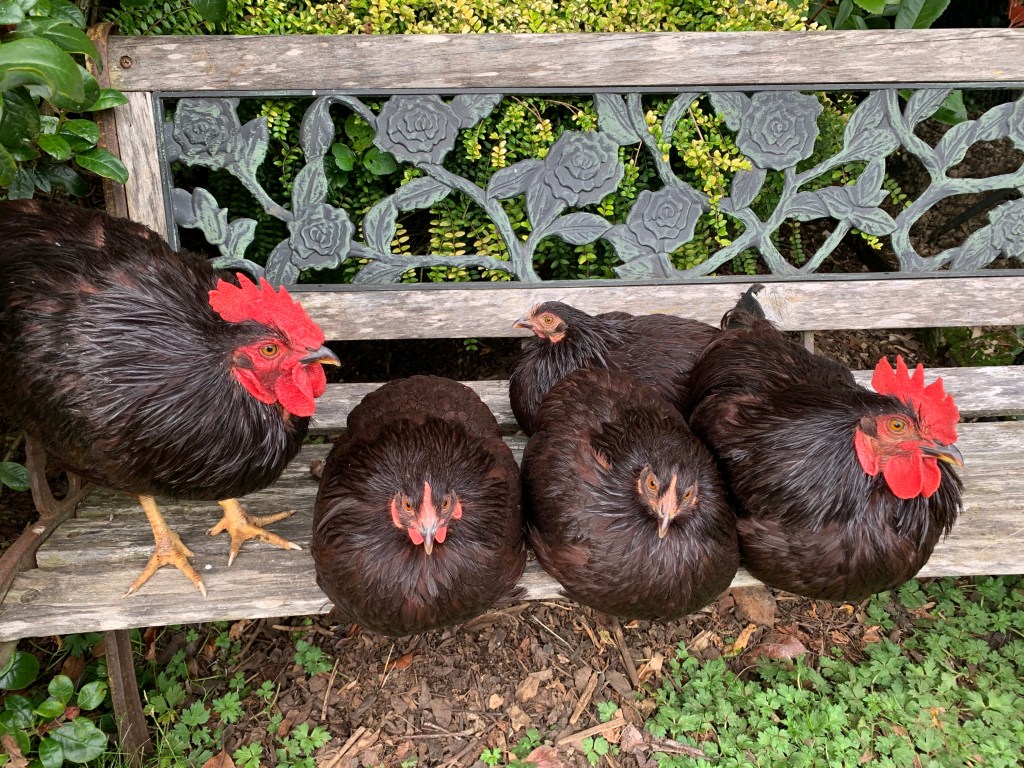
In upgrading our hens’ housing I wanted to take into consideration how this new structure would look in its setting – after all, steel tubing is not the most attractive material – and I was keen for it to blend into the back garden, rather than sticking out like a sore thumb. So I decided to incorporate a couple of small planting areas at the front, filled with herbs and flowers which would look attractive and could also be beneficial for the chickens. Spare bricks were used to mark out two rectangular mini-beds on either side of the run door which were filled with a variety of fast-growing, bushy annuals and perennials, including nepeta (catmint), violas, nasturtium, lavender and mint. The lavender and mint can be used in the coop to fragrance and freshen the nest box and are a natural insecticide. Nasturtium leaves are said to be a natural wormer and antibiotic. All of the planting filled out nicely over the season, decorating the front of the run without screening it so much that I couldn’t see what the hens were up to. The addition of a bench close by completed the picture, allowing the opportunity to sit and enjoy watching my flock wander around the garden from time to time – although it’s possible they use the bench for sunbathing more than I use it for sitting!
A coop to suit all styles
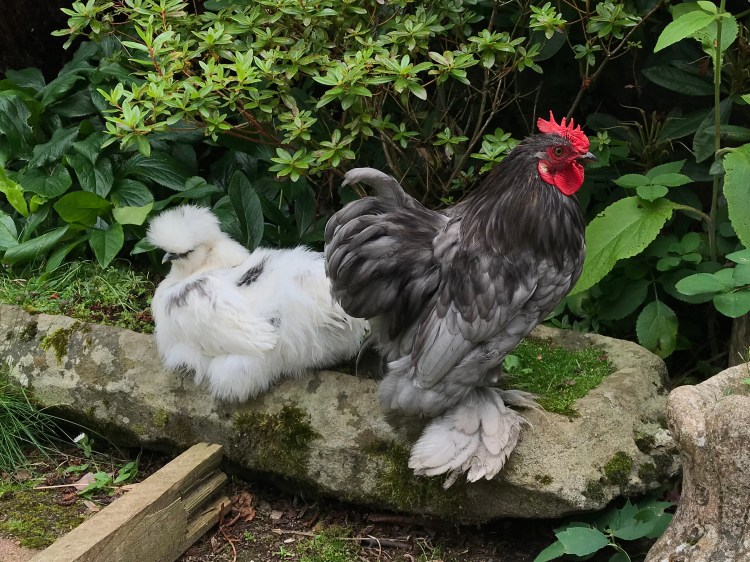
Consider the look and feel of your garden when you’re planning your hen house. My garden has a natural woodland feel to it so the coop and run blend into the background much better now they’re surrounded by shrubs and plants. However it’s also possible to make a feature of your coop – after all, some are made to be shown off, with beautiful paintwork or a funky design. A modern garden style lends itself to featuring more unusual structures – plastic coops in bright colours or repurposed materials. It’s possible to recycle a child’s plastic wendy house or repaint a kennel or shed, including the essential nest boxes and perches required. Or you might have a more traditional garden which calls for a sturdy wooden house and perhaps a ‘living roof’. This involves planting a variety of low-growing sedums or wildflowers which will really ensure the coop looks like it’s at home in your garden.
Protecting your plants
If you’re keen to let your hens free-range in the garden but don’t want to sacrifice your beautiful borders, you may need to take some steps to make sure they’re protected from curious beaks and those dinosaur feet, which are great for digging up insects but don’t care about the new bedding plants or young shoots that get in the way. Equally, if you like to grow your own and you’re keeping a fruit and vegetable patch in the same area as your hens this will also need some security to ensure you manage to harvest any crops before your chickens do. They will especially enjoy raiding your veg beds for leafy greens, sweetcorn and any berries they can get their beaks on. If you want to keep chickens away from a whole area, such as a vegetable garden, you could put up a fence made of netting or chicken wire as a barrier – but it will need to be high enough to stop them from flying over (at least 6 ft), or you can clip their wings to keep them closer to the ground.
One of the best ways to avoid damage is simply to grow plants which are tough and not particularly tasty for your hens. Chickens do seem to know what they can eat and what they can’t. They’ll avoid anything unpalatable and will find it difficult to destroy more resilient plants, such as varieties of bergenia, hebe, geranium, camellia, hosta or ferns – and there are many other shrubs and perennials to choose from. It’s fairly straightforward to protect individual plants from harm – place a ready-made cloche over young specimens which are newly planted, or create a wire dome or cylinder, pegging it down to make sure it doesn’t blow over or get knocked off. An upturned wire basket would do a similar job, or netting propped up with bamboo canes. Once good growth is established with strong roots and plenty of leaves the barrier can be removed and the plant should survive the occasional trampling.
Wherever you choose to place the chicken coop in your garden, as long as you provide a safe and dry enclosure for your hens, with access to food and water, your hens will be happy. Whether you allow them to free-range or keep them enclosed, your flock can be a vital part of your own little ecosystem, contributing to the sustainability of your garden and bringing life to your green space in many different ways. They rake moss out of the lawn, reduce pests, aerate the soil and fertilise it too. Not only that but they entertain AND provide eggs on a daily basis – there isn’t another product on the market that’s so good for your garden!

This article first appeared in Country Smallholding, June 2020


