Roses are the quintessential country garden plant – they’re a symbol of royalty and romance, celebrated in art, and even flavour our food. For some, they’re an essential element of a good garden, while others find them old-fashioned or fussy. It’s true that some roses can demand a little extra care, but there are so many varieties today that it’s easy to find a rose which suits your garden and, more importantly, your style of gardening, whether it’s hands-on or low-maintenance. If you’re caring for an existing rose, or want to introduce new plants to your garden, now is an excellent time to lay the groundwork for healthy, happy plants which will reward you with some beautiful blooms later in the year.
Every rose has its thorn…

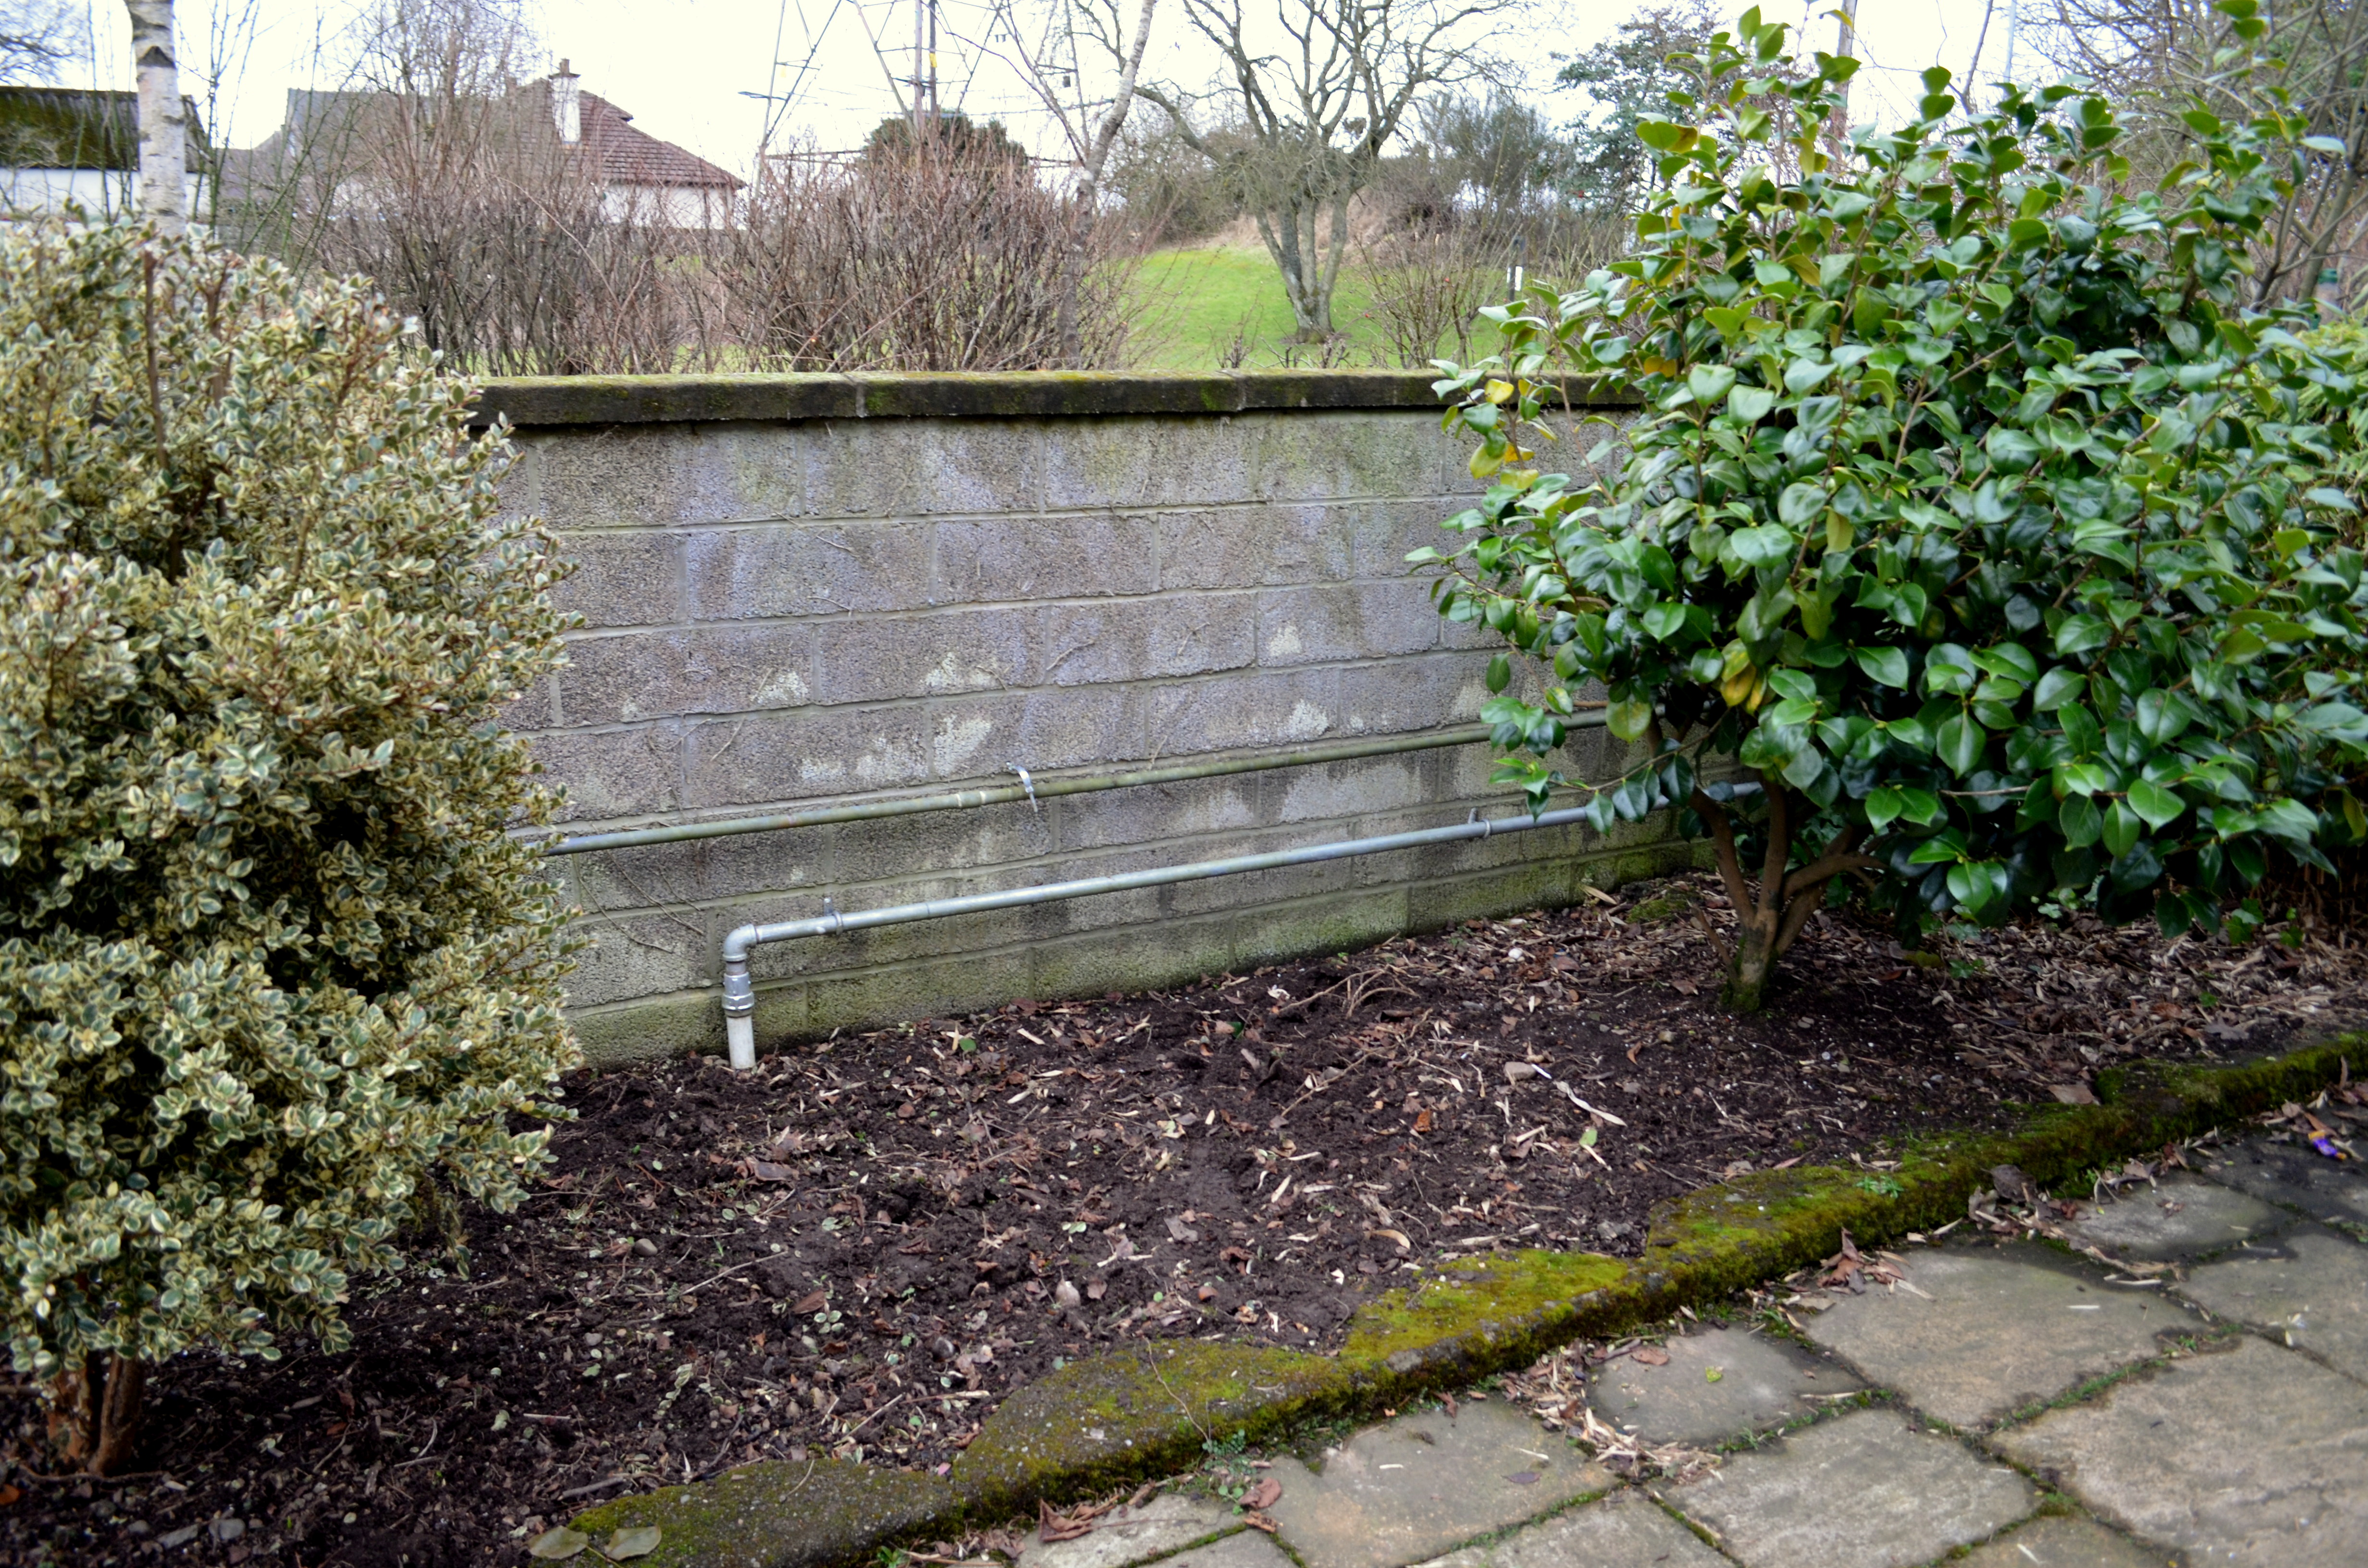
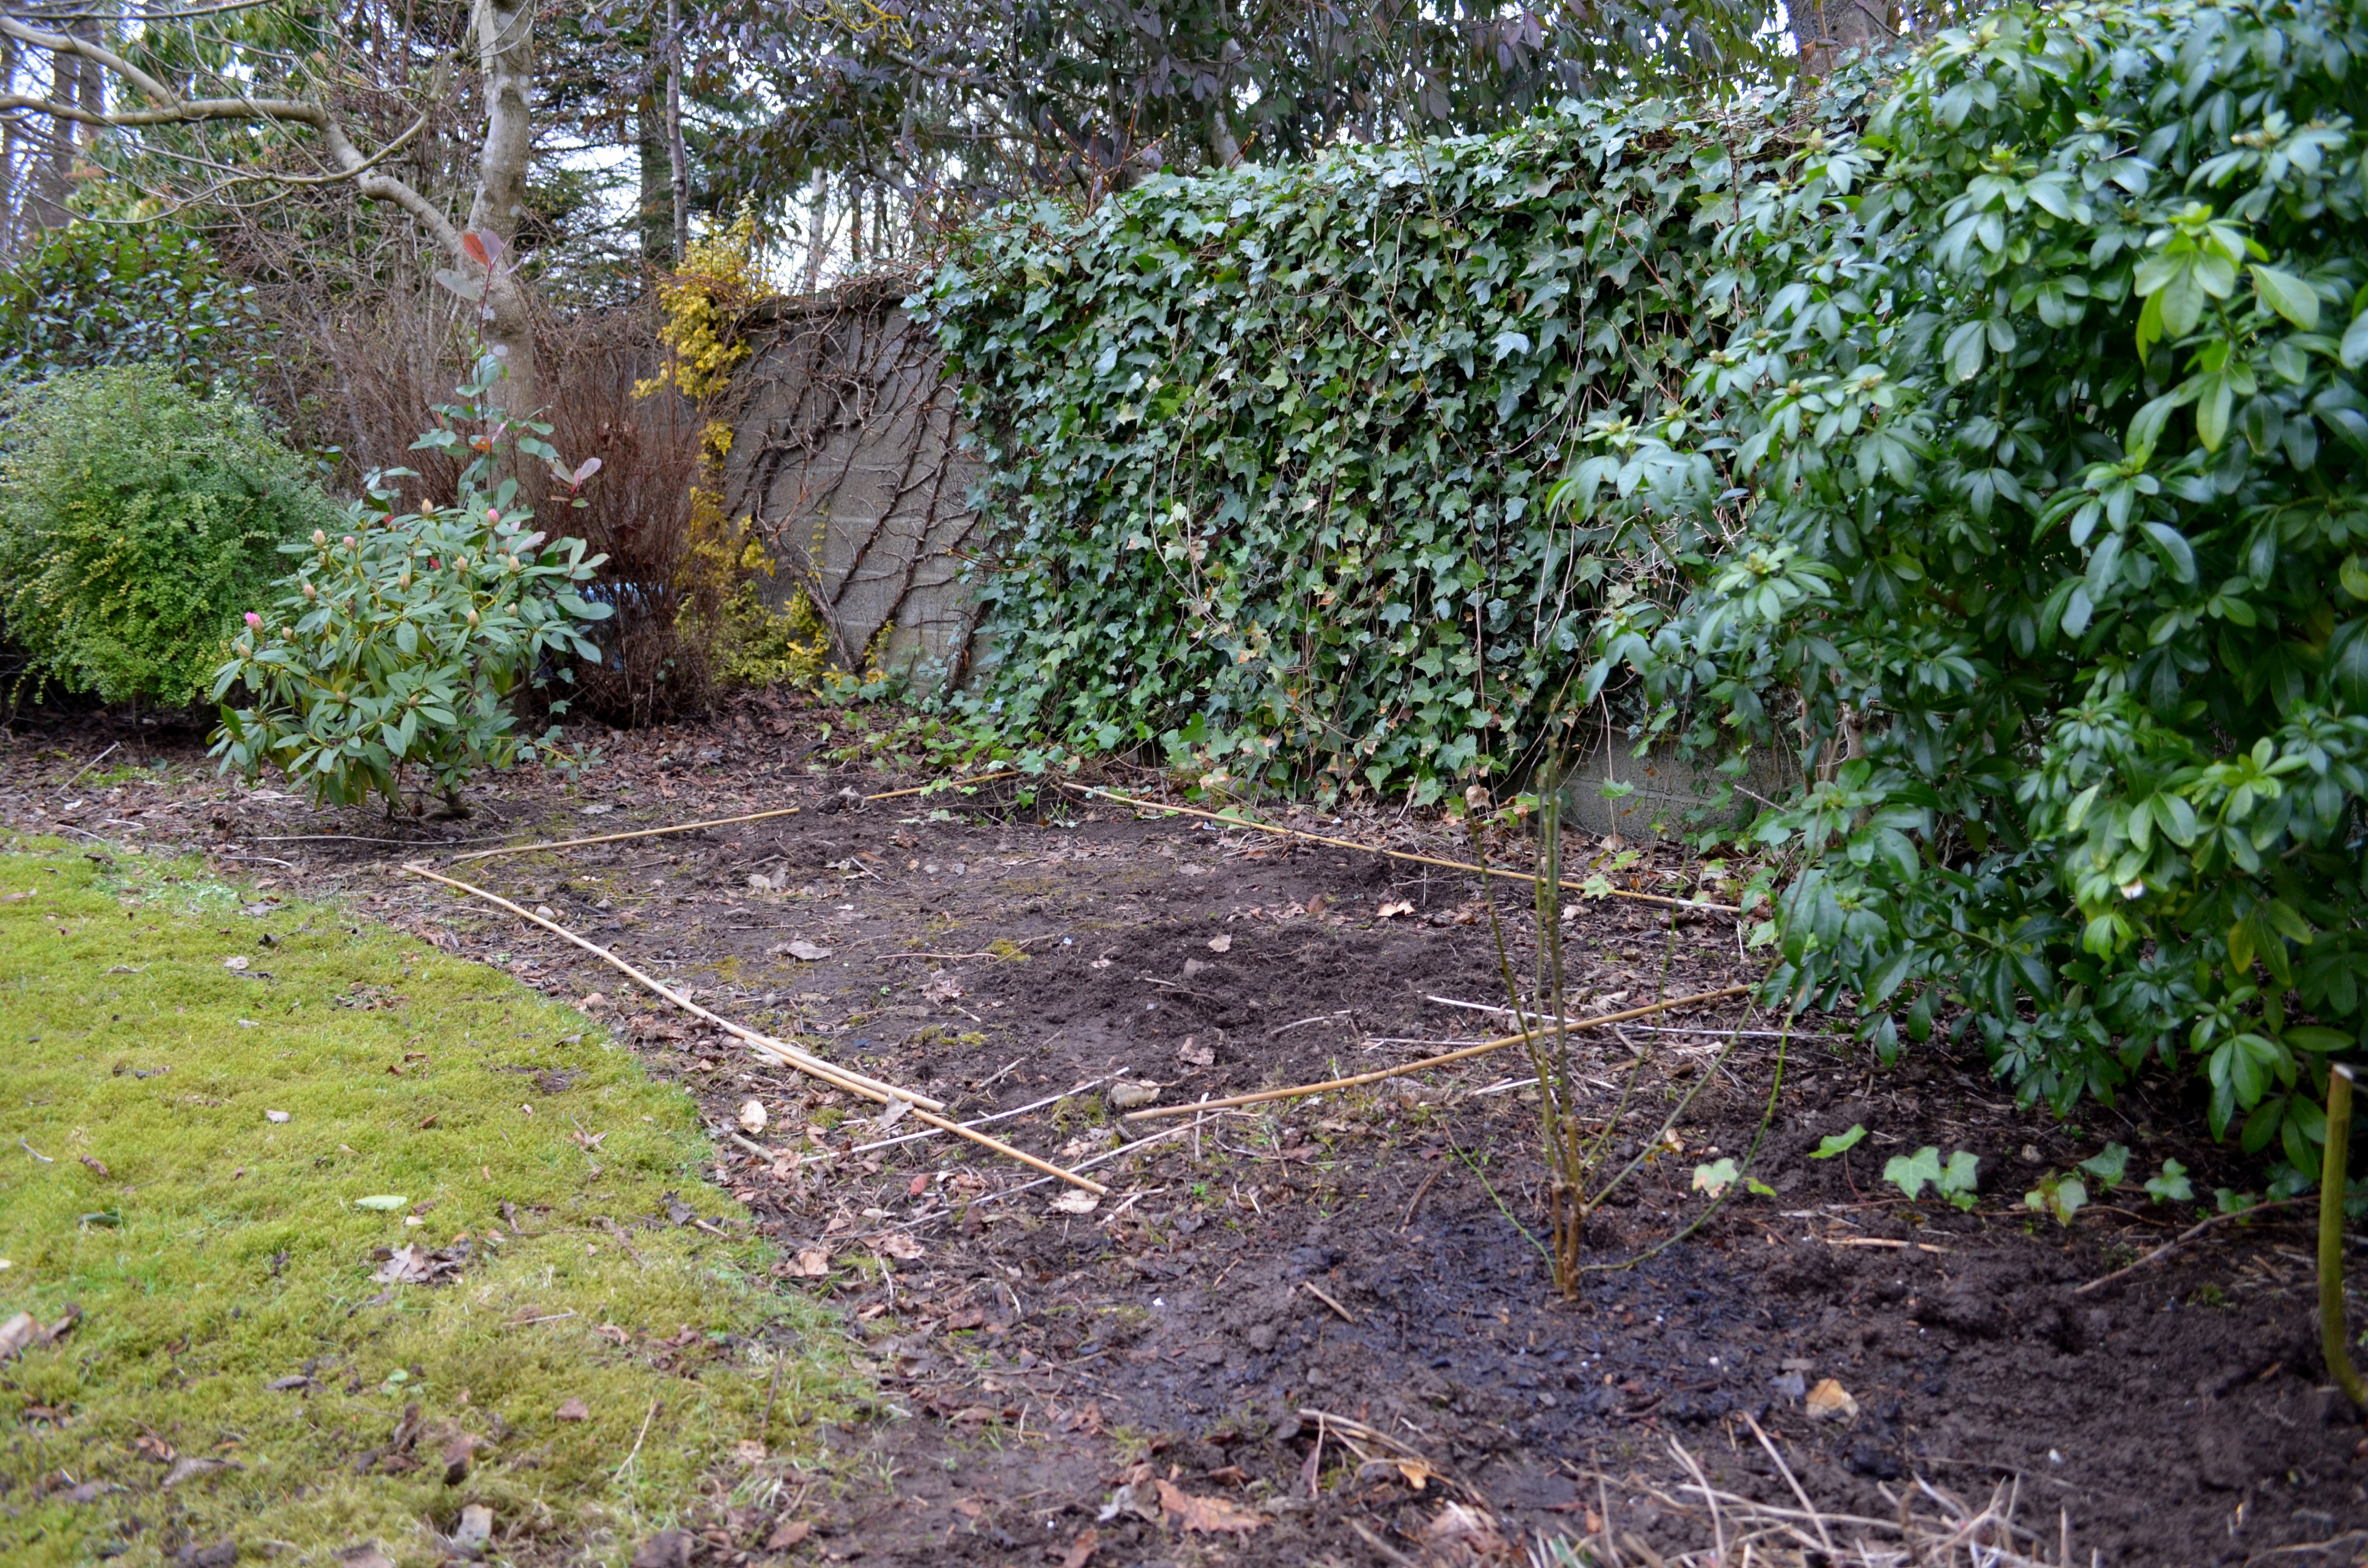
Pruning roses is an important winter task and best done before March, when they will be waking from their dormant state and coming into growth again. Cutting back older, established plants is almost essential for roses, to avoid leggy growth, prevent disease and maintain a good shape. The first thing to do, if you can, is to identify what kind of rose you have in order to make sure you’re following the correct advice for your particular plant. If you’re unsure follow these general rules to reinvigorate the plant and keep it healthy: using secateurs, cut the branches back by one to two thirds and trim off dead or damaged stems, any which are crossing/rubbing as well as any leaves showing signs of blackspot, taking care to remove these from the site completely so as not to re-infect the new growth. The best way to prune is to cut back to just above a new leaf bud (small nodule on the stem).
Bush roses: these include floribunda types and hybrid teas, such as ‘Lady Marmalade’ and ‘Mary Berry’. They flower on new growth each year so can be pruned back hard to encourage fresh new shoots which should also eventually bear flowers. Don’t be afraid to cut right down almost to ground level – these roses respond well to a good cut back and it’s highly unlikely you’ll kill the plant.
Modern shrub/English roses : these are usually larger, repeat flowering, scented roses, including ‘Gertrude Jekyll’ and ‘Sceptr’d Isle’. They need to maintain a more natural framework of stems but it’s still worth wielding the secateurs to remove any dead or damaged stems, cutting back older, woody branches and pruning side stems down to two or three buds.
Climbing roses: such as ‘New Dawn’ or ‘Mme Alfred Carriere’ are tall and vigorous, and need tying in to ensure they don’t end up in a tangled mess. As with other types, remove dead or damaged stems, cutting out any very old branches or any which are rubbing, as this can create a wound and therefore an entry point for disease. Make sure your main framework is tied into its support, then add in any new side shoots, and trim flowering shoots back by two-thirds of their length.
Rambling roses: eg ‘Rambling Rector’, ‘Paul’s Himalayan Musk’ are similar to climbers but usually only flower once in the growing season. They can be pruned similar to climbing roses too by making sure they have a framework of branches fanned out and tied into supports. One in three of the oldest branches can be cut out and side shoots trimmed back by about two-thirds.
Once you’ve got your roses back into shape, they’ll also benefit from a feed of general purpose or fertiliser, sprinkled around the soil at the base of the plant and then covered with a layer of well-rotted manure or compost – this should ensure they’re off to a good start for the new growing season.
I never promised you a rose garden…
Gone are the days when having roses in your garden meant a square of bare earth with half a dozen rose bushes displaying only thorny branches for half of the year. Modern planting design encourages combining the roses which best suit your style of garden with other shrubs and perennials in a mixed border. The cottage garden is possibly the best example of this and wouldn’t be complete without a few romantic roses in amongst pretty poppies, airy cosmos and tall spikes of delphiniums and foxgloves. They blend beautifully with the lush and lax style of other cottage garden plants, taking a back seat in the spring when bulbs and other early flowers appear, then centre stage from midsummer until autumn, when regular deadheading will ensure repeat flowering roses are the stars of the border.
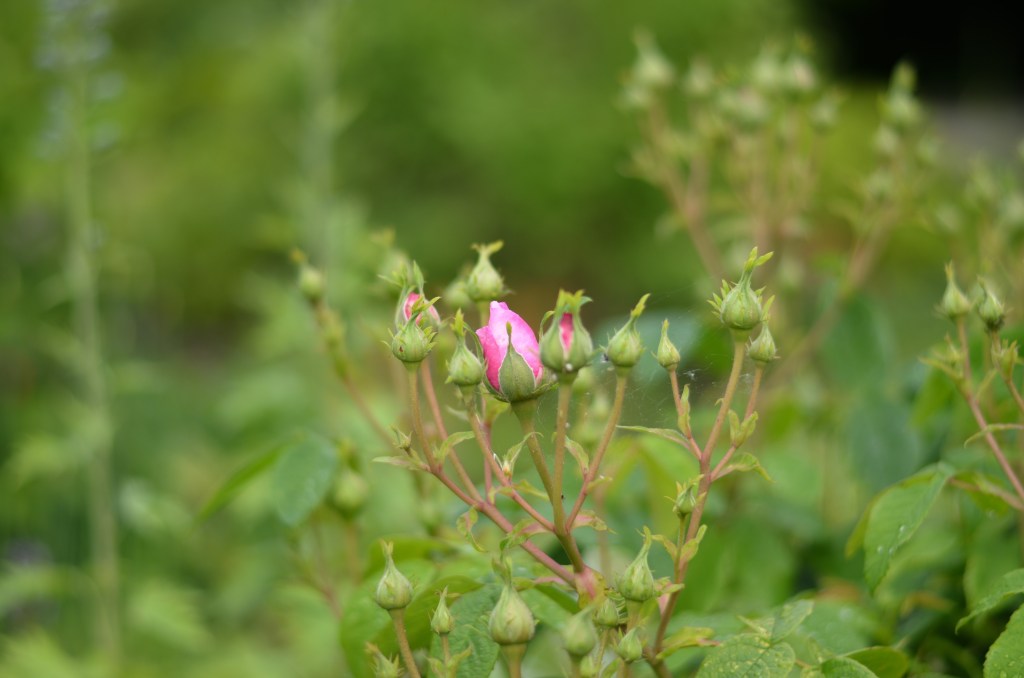
Not only that but there’s a colour to suit every palette. Red roses such as the velvety ‘Deep Secret’ are, of course, the classic choice, but pinks are often easier to combine in a mixed bed, with every shade available from bright cerise through to soft blush. ‘Gabriel Oak’ is a brand new rose from renowned breeder David Austin in a shade of deep pink, with a full, rosette style flower and a strong, fruity scent. Climber ‘New Dawn’ on the other hand, is a pale pink, with a classic petal shape and sweet fragrance, and blooms reliably from summer until late autumn.

If you don’t want to go down the ‘obvious’ red or pink route, there’s also a multitude of white and cream roses to choose from, including the top performer ‘Iceberg’, with open, single flowers which are good for pollinators, and the pretty ‘Mary Berry’, a hybrid tea with a traditional shape and beautiful scent. Yellow and orange flowers are not to everyone’s taste and can be trickier to include in a mixed border – but combined well they can also make an impact, providing a hit of colour or a bright contrast to darker shades of purple or green. To test your tolerance of yellow shades try ‘Tottering-By-Gently’ which was introduced at 2018’s Chelsea Flower Show and is a soft yellow shrub rose, with simple, open flowers which would pair beautifully with purple lavender or zingy orange heleniums. In my own border I have the brick-red ‘Hot Chocolate’ next to the orange geum ‘Totally Tangerine’ and deep purple salvia ‘Amistad’ – the colours are unusual but tone well and provide a dramatic contrast to the soft pastels elsewhere in the garden.
Kiss from a rose…


Get roses right and they will reward you. With just a little care and attention they really can be the showstoppers of the garden. To keep your blooms in tip-top condition during the growing season feed, weed and deadhead. As well as mulching and fertilising in the early spring, give your plants a second feed after the first flush of flowers to keep them healthy. Weed around the base regularly (avoiding any spiky thorns!) and cut off faded blooms, which for most floribunda and repeat flowering types, will ensure more flowers will follow. Although established roses don’t need regular watering, a watering can full once a week is beneficial during especially hot and dry spells, although if your rose is in a container, it will need watered and fed more frequently throughout the season.
And finally keep an eye out for greenfly, which will love your roses almost as much as you. There are various chemical sprays on the market to get rid of greenfly but the safer and healthier (and lazier!) approach is simply to sit back and wait. A good garden ecosystem usually balances itself and with aphids come ladybirds. These natural predators will take care of the pests within a short space of time – however, if your infestation is particularly bad you can spray the stems with soapy water, blast them with the hose, or put on your garden gloves and rub them off between your finger and thumb.
Plant a bare-root rose
Bare-root roses are available during the winter and up to the end of March, and they’re often the best way to introduce a new plant to your garden. Bare-root simply means they’re sold without a container, with the roots exposed. Although they might not look as attractive as a potted plant, bare-root specimens are cheaper and usually establish better as they have plenty of time to develop a strong and healthy root system before energy is diverted into flowering during the summer months.
To plant a bare-root rose:
- Rehydrate the plant by placing in a bucket of water for at least 30 minutes before planting
- Choose a sunny, well-drained position and dig a hole approximately 40cm wide and 60cm deep
- Add well-rotted manure to the base of the planting hole
- Place the rose in the hole, spreading out the roots and ensuring the graft union (swollen area between roots and stems) is just below the surface of the soil
- Fill in the hole with soil and firm in with your foot
- Water well after planting

This article was published in Platinum magazine’s March 2020 issue